-
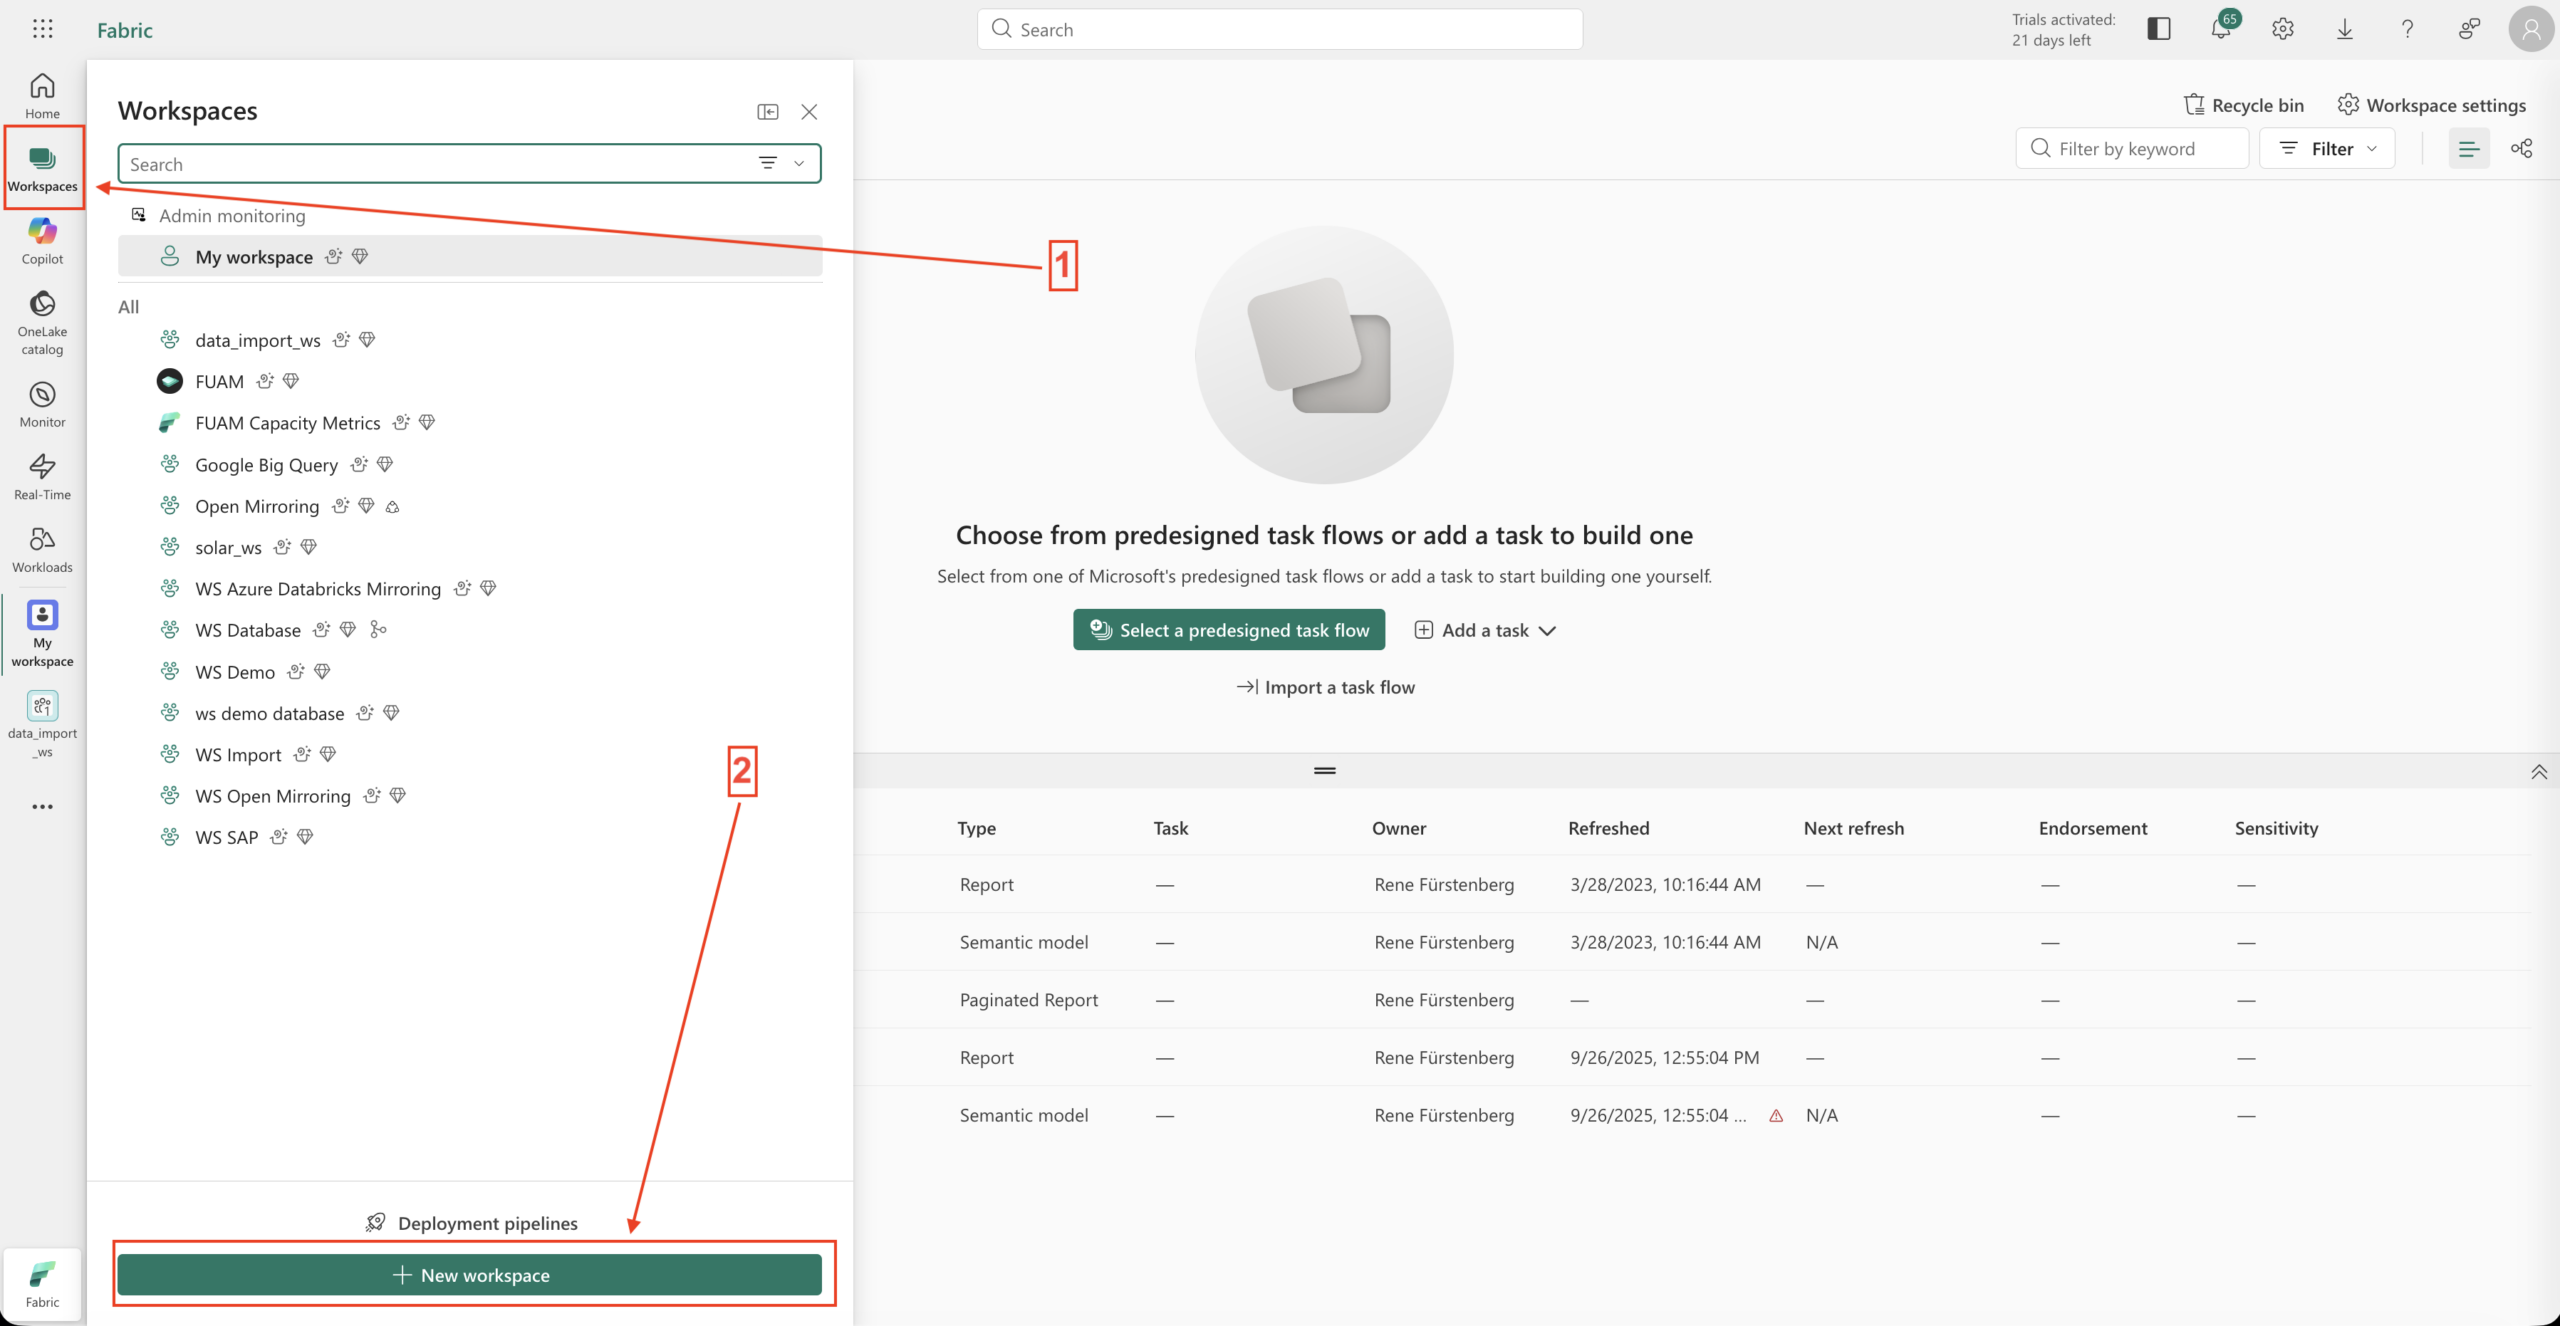
- 1. Create Workspace
-
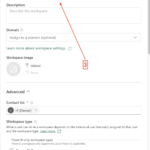
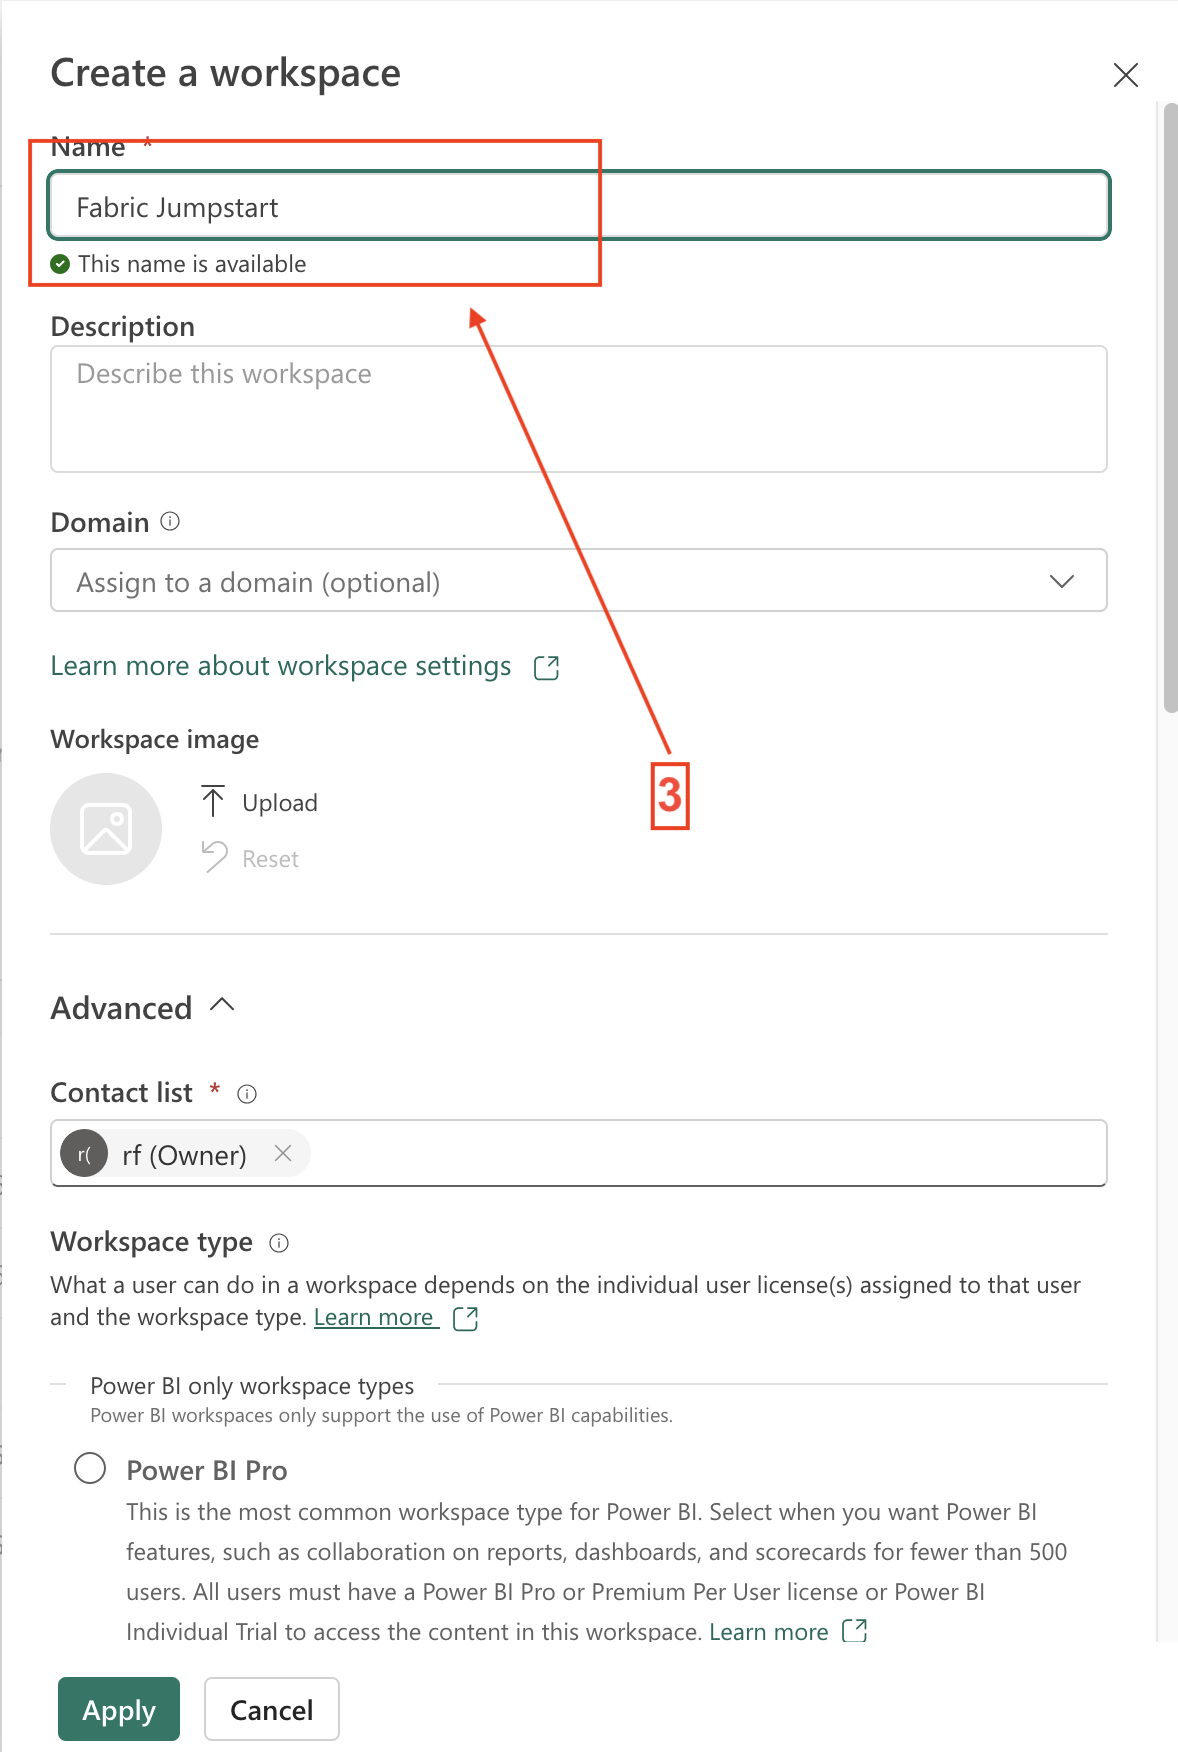
- 2. Give the Workspace a Name
-
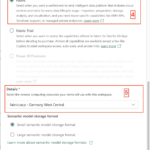
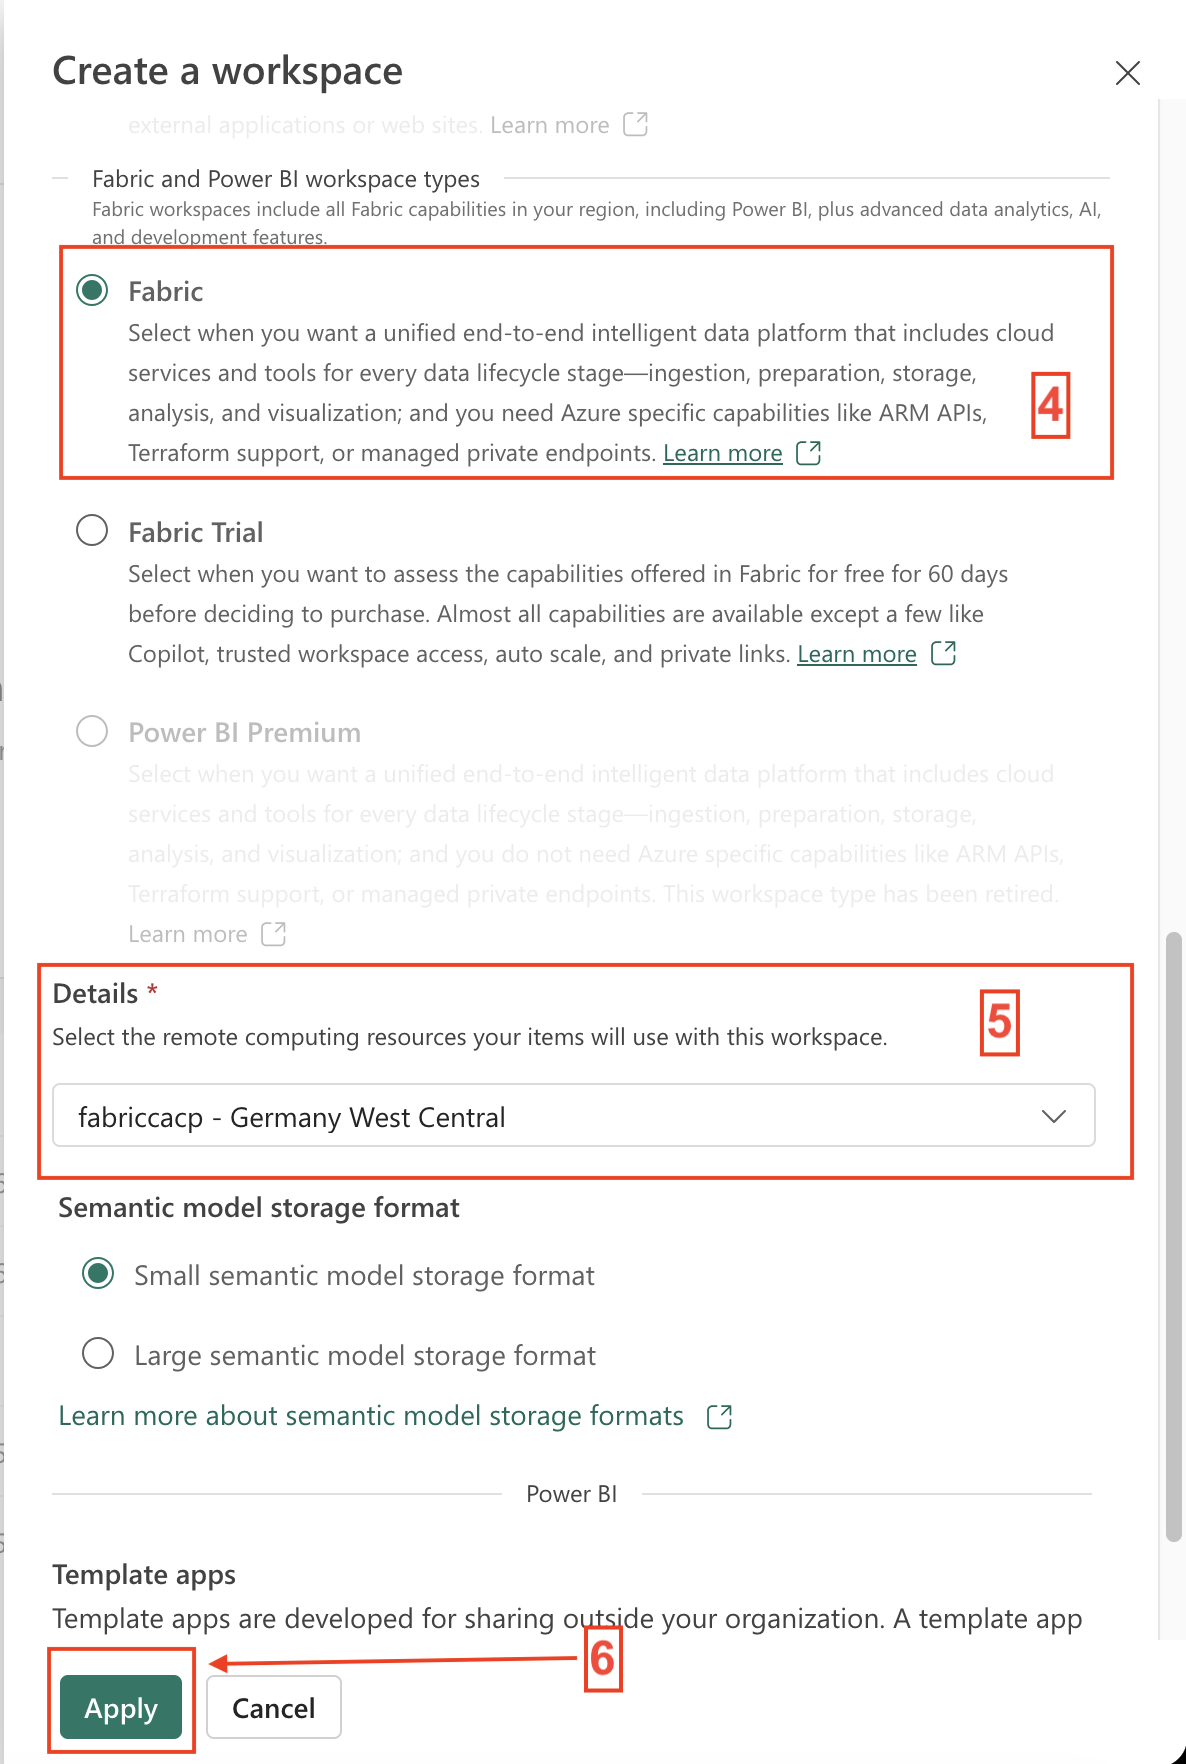
- 3. Select Capacity and Apply
-
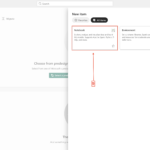
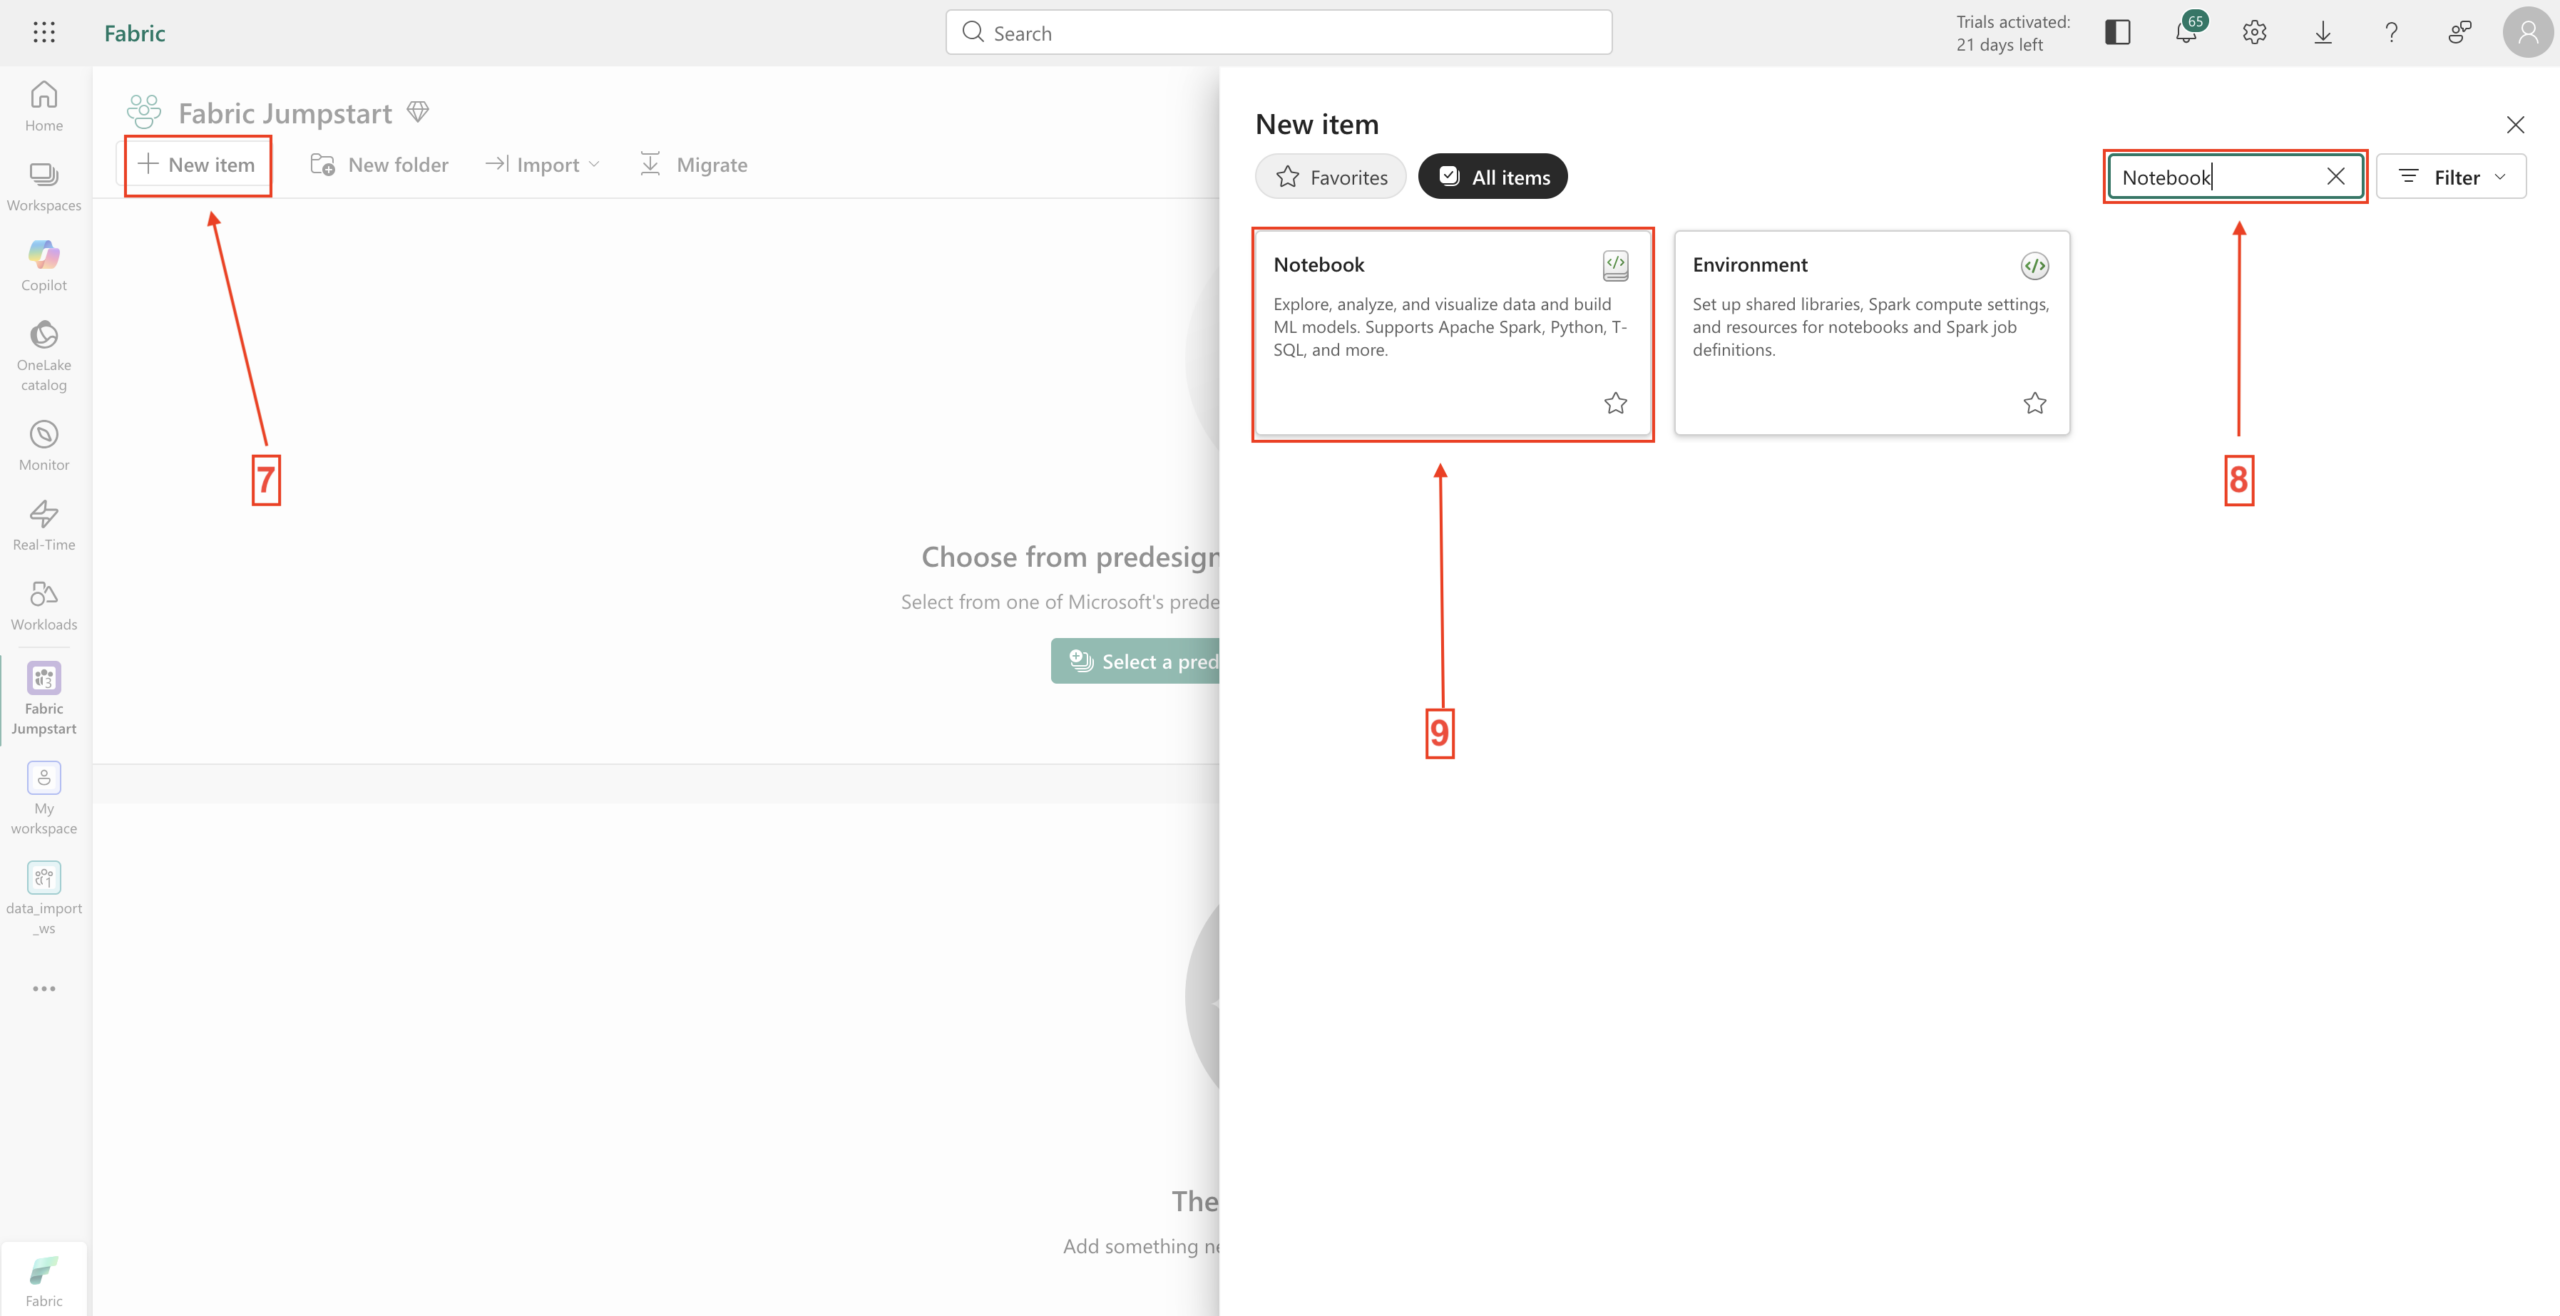
- 4. Create Notebook
-
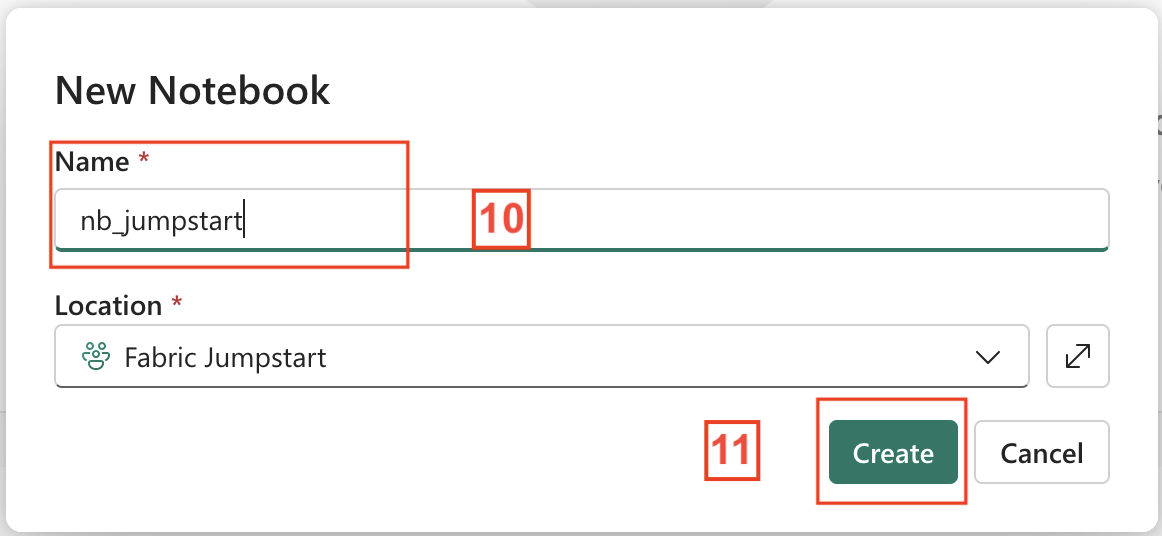
- 5. Give the Notebook a Name
-
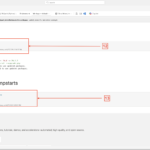
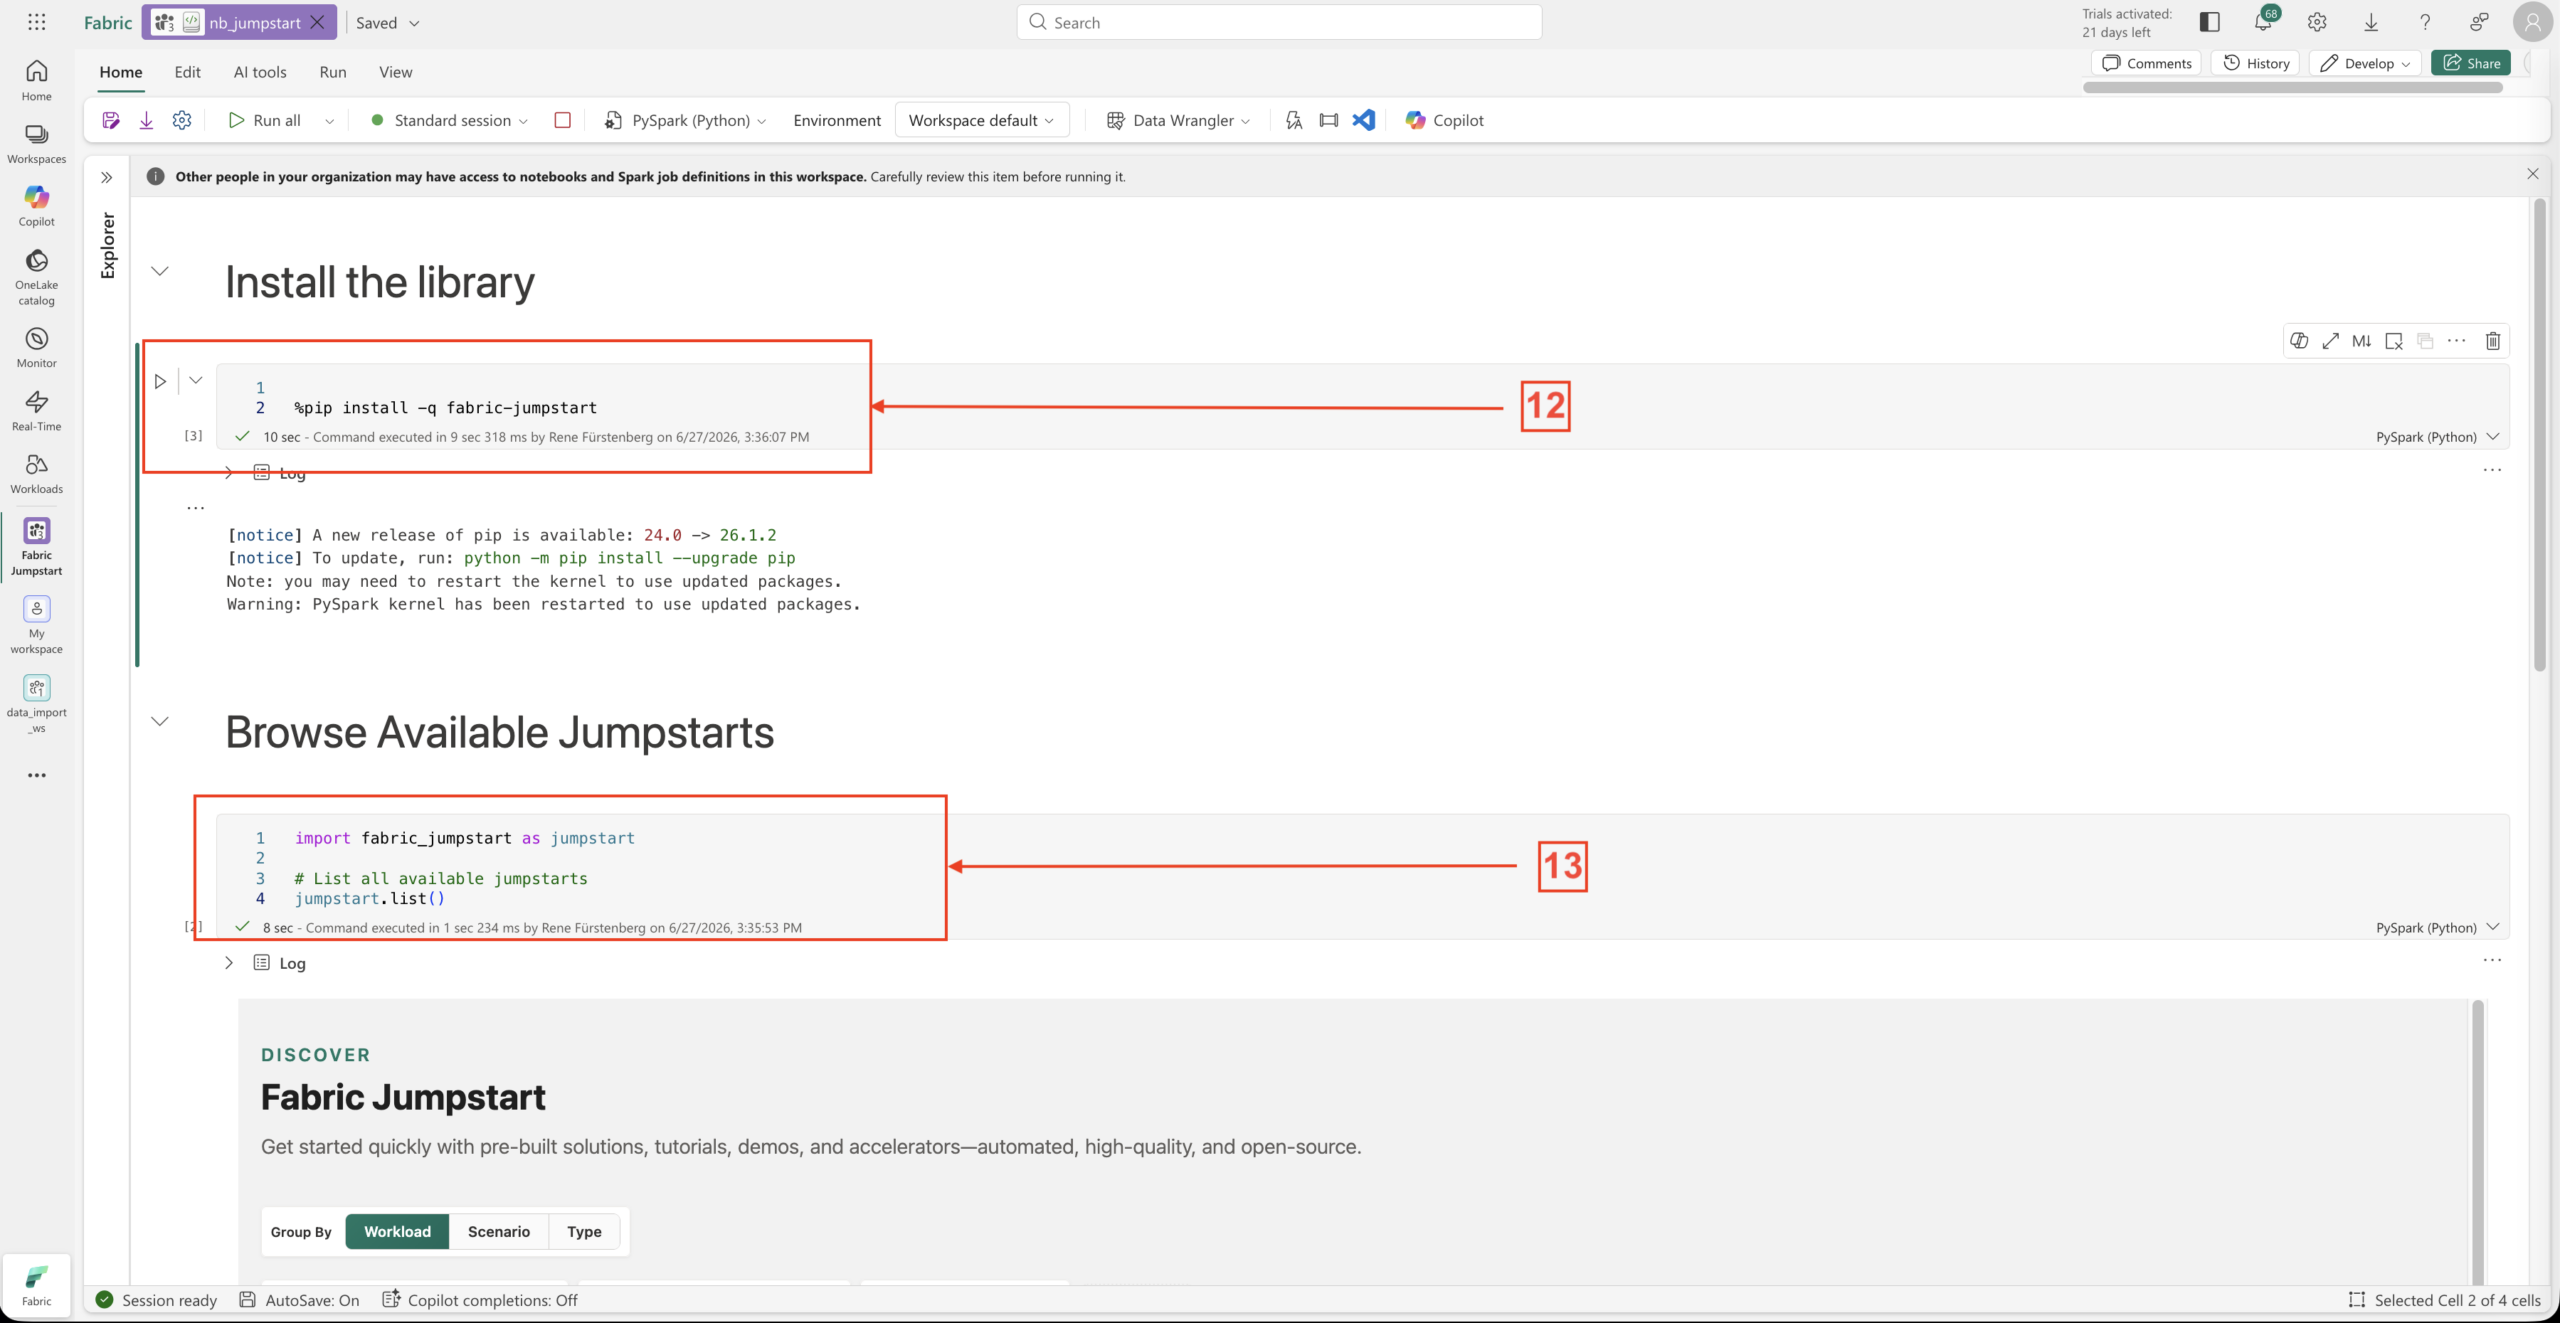
- 6. Install Library
-
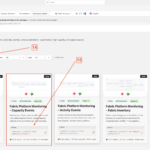
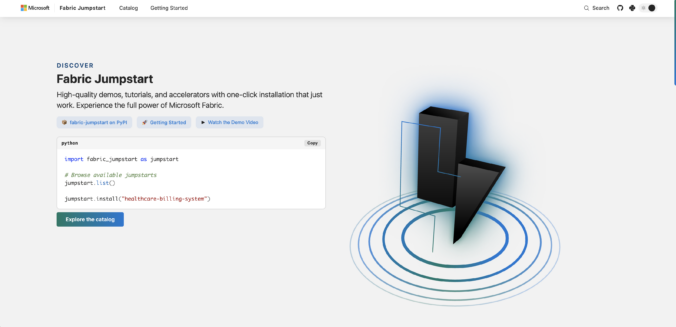
- 7. Jumpstart solutions

-
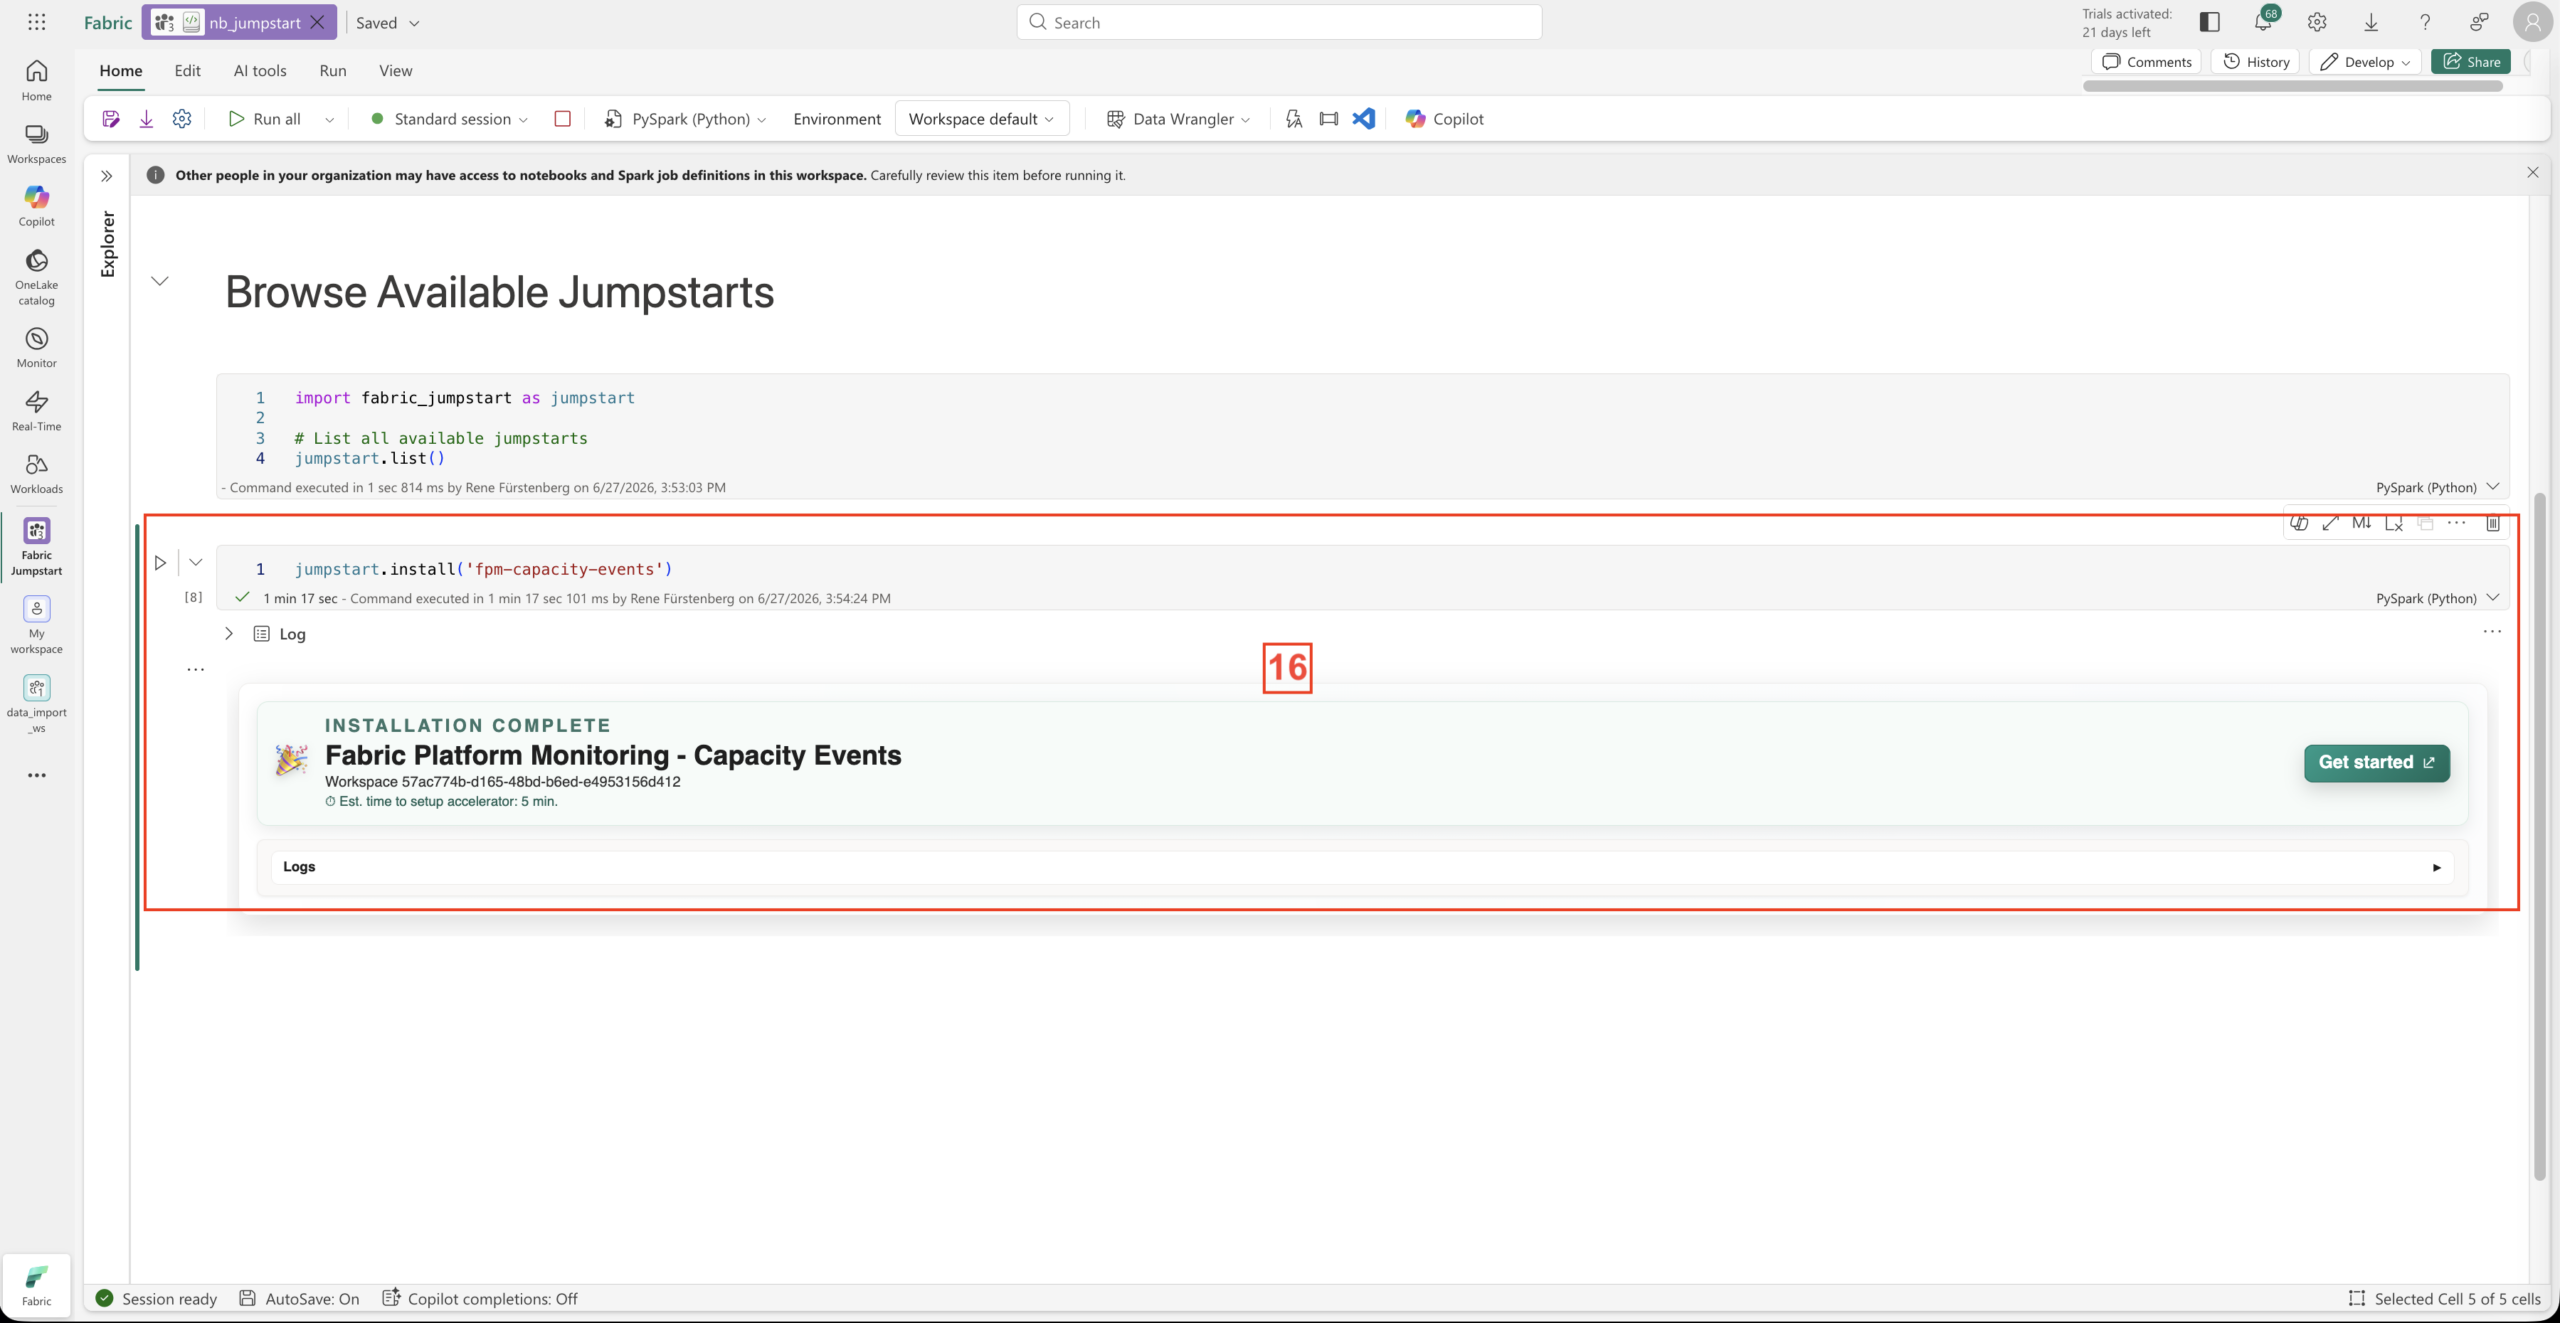
- 8. Install Jumpstart Solution
-
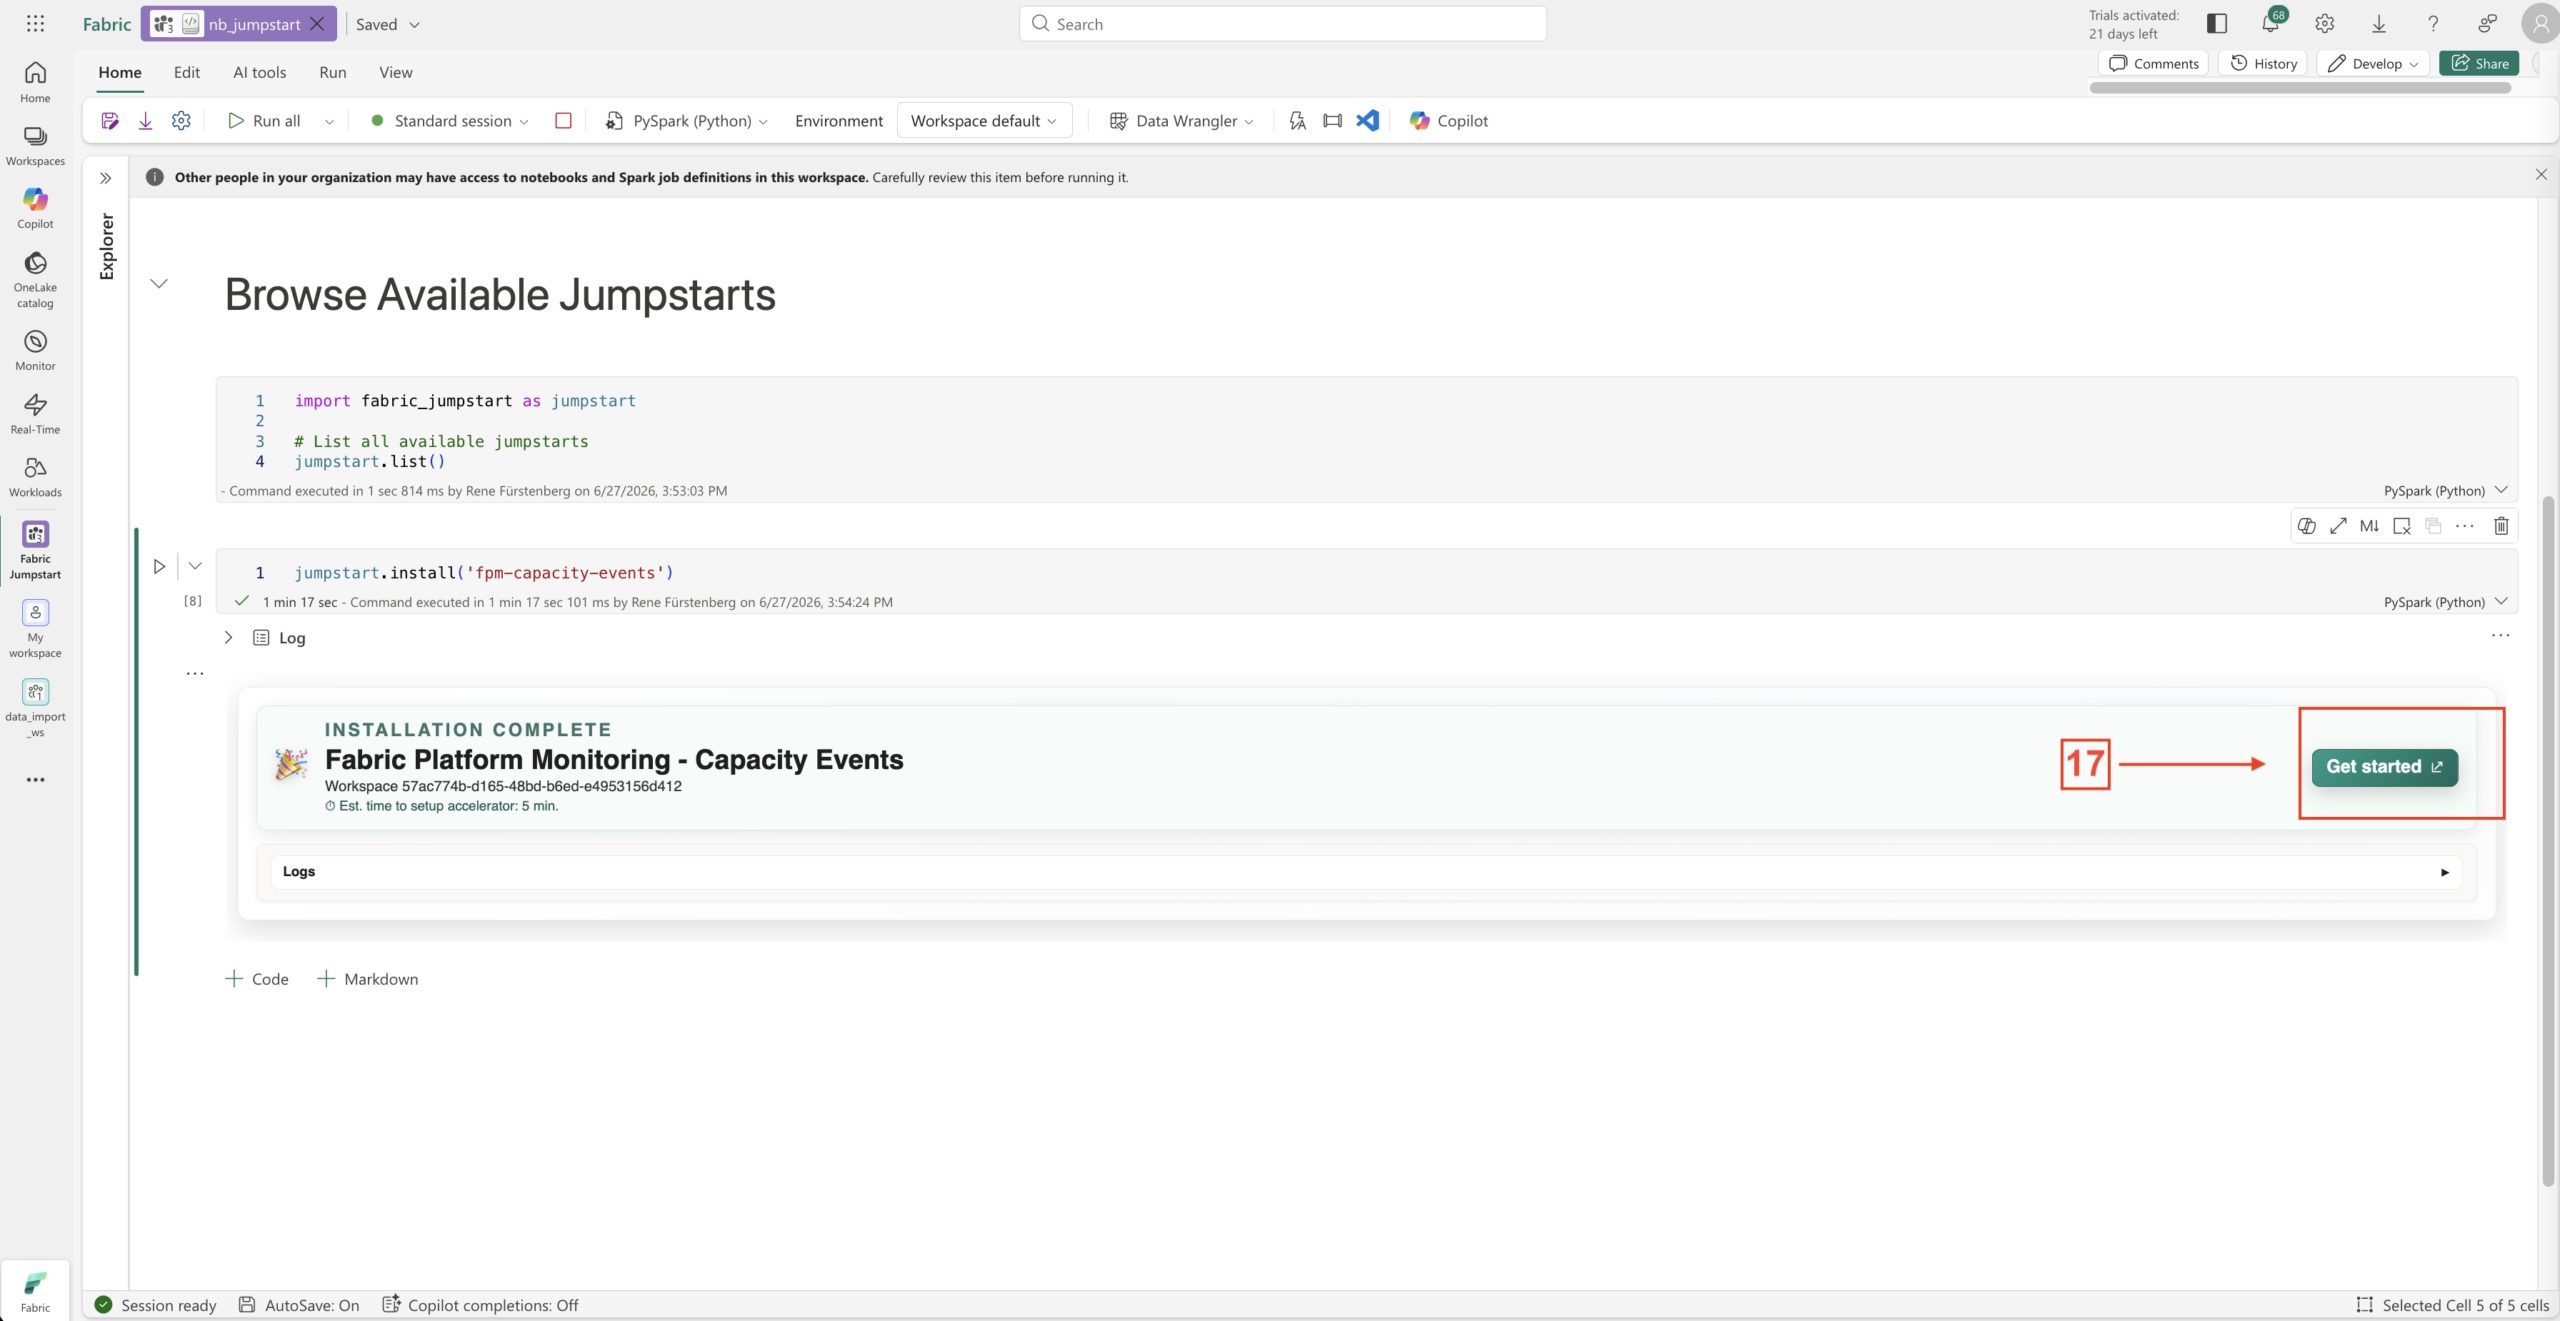
- 9. Get Started
-
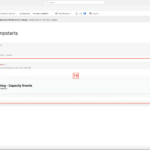
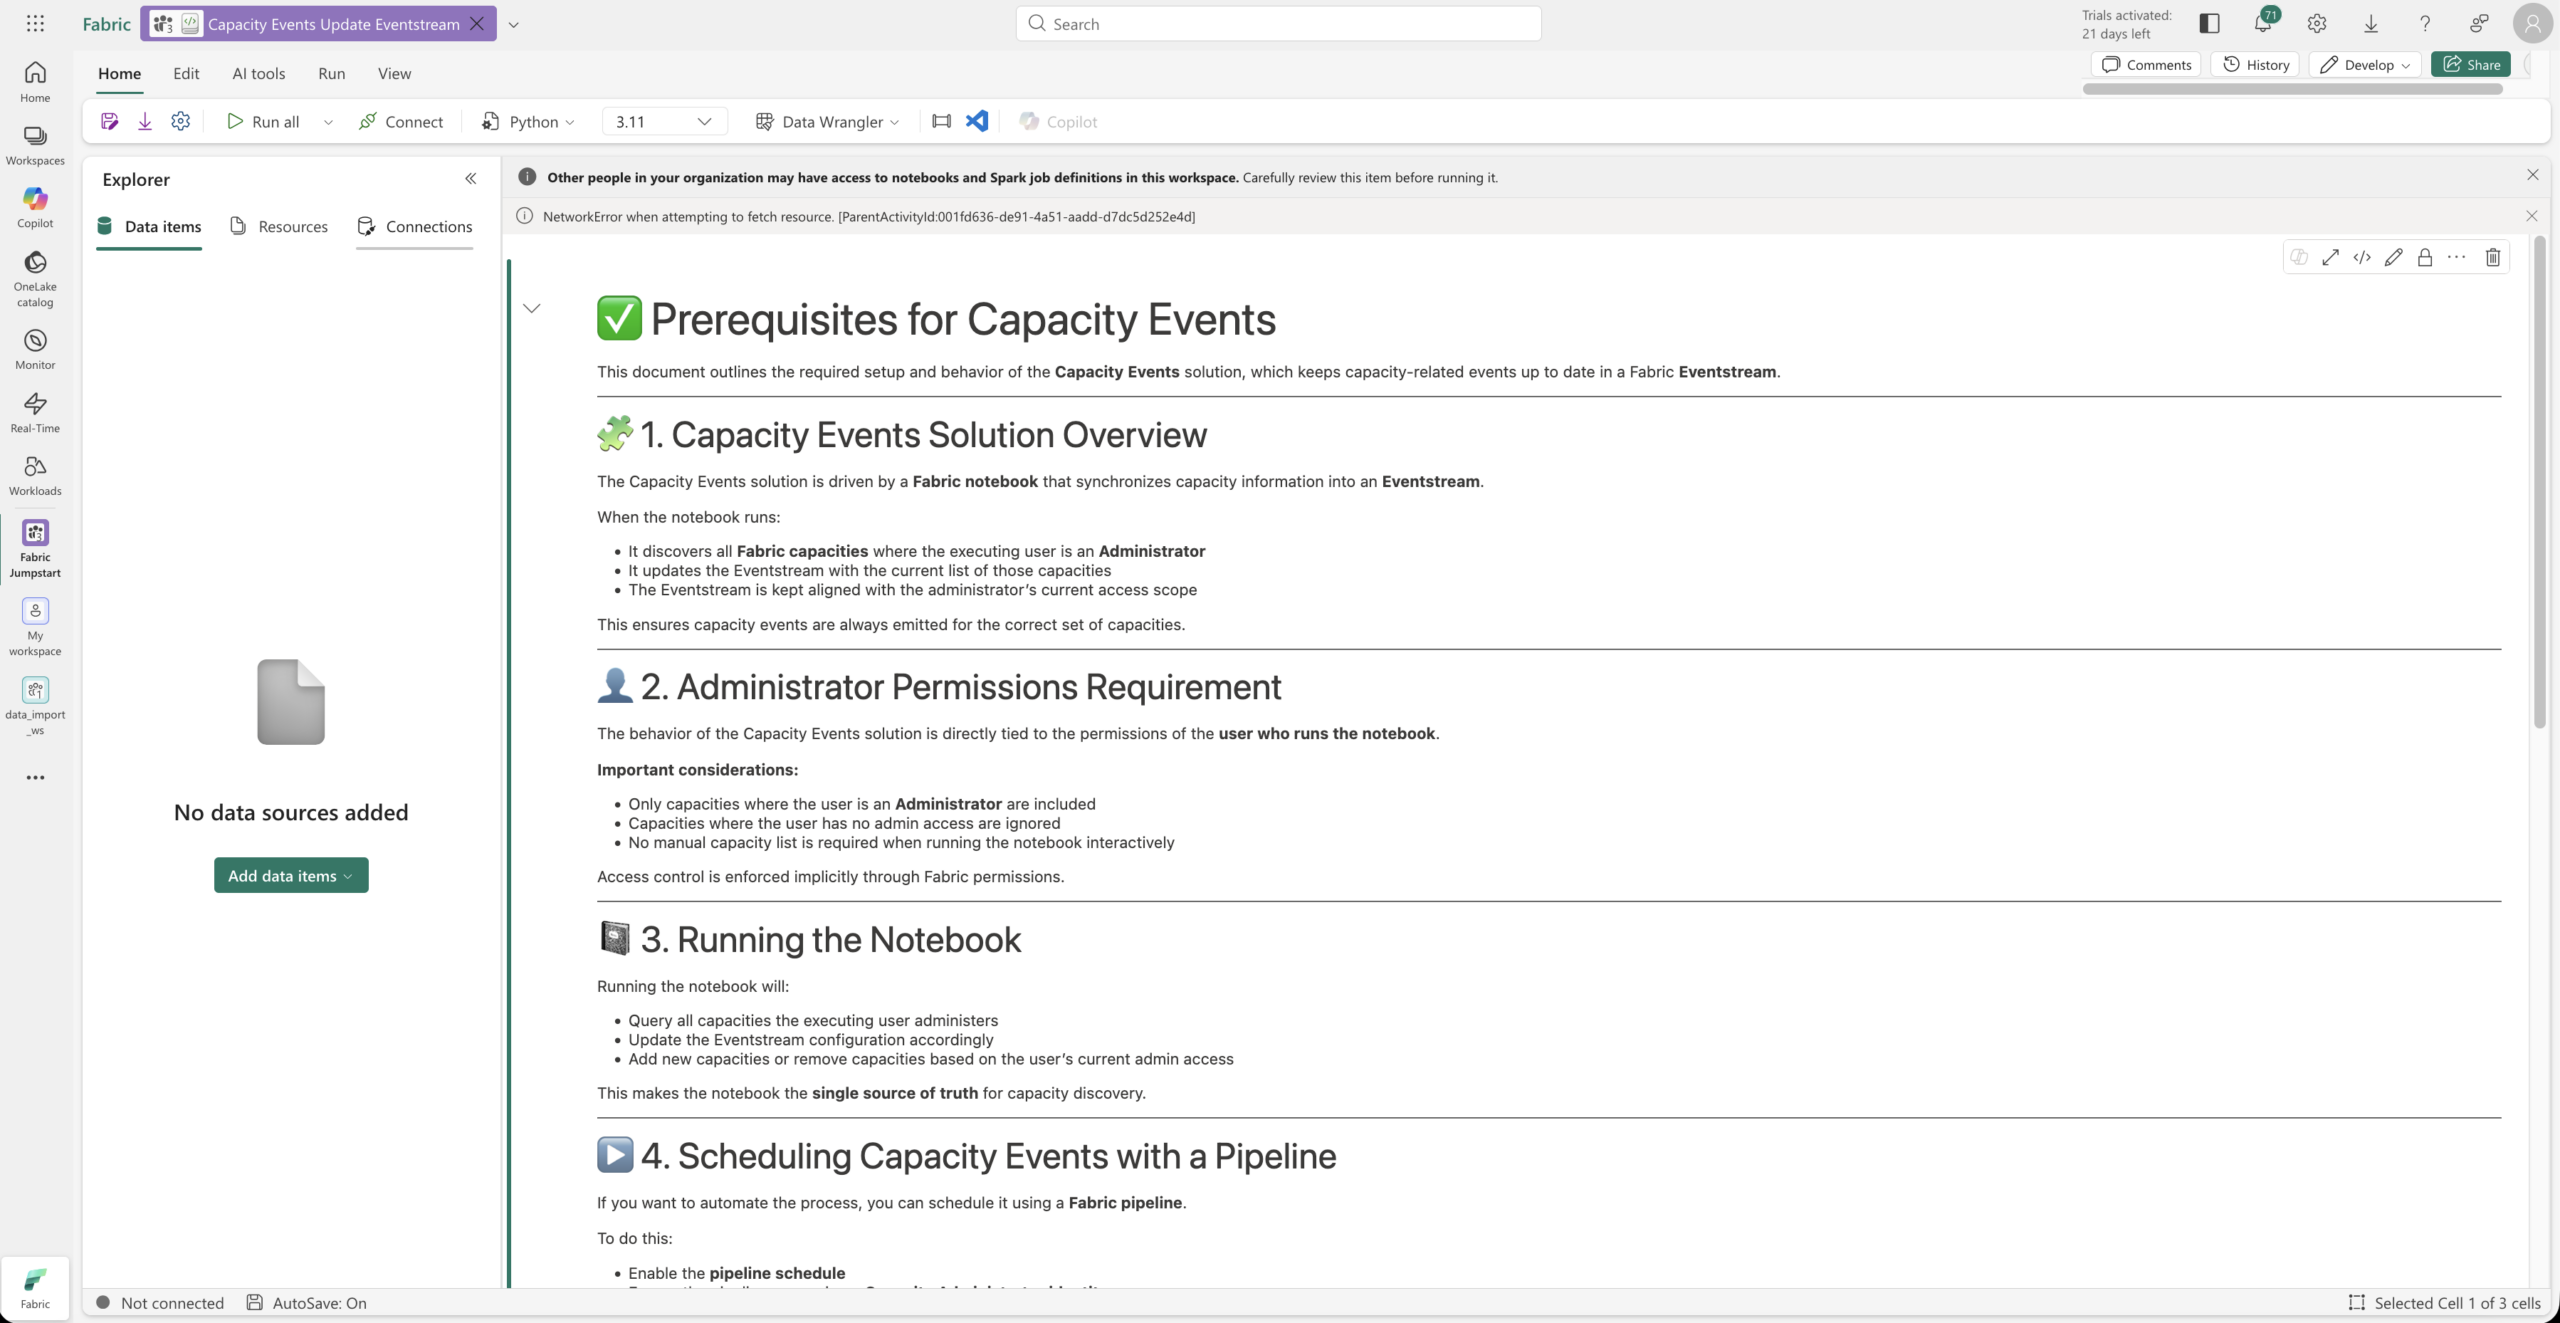
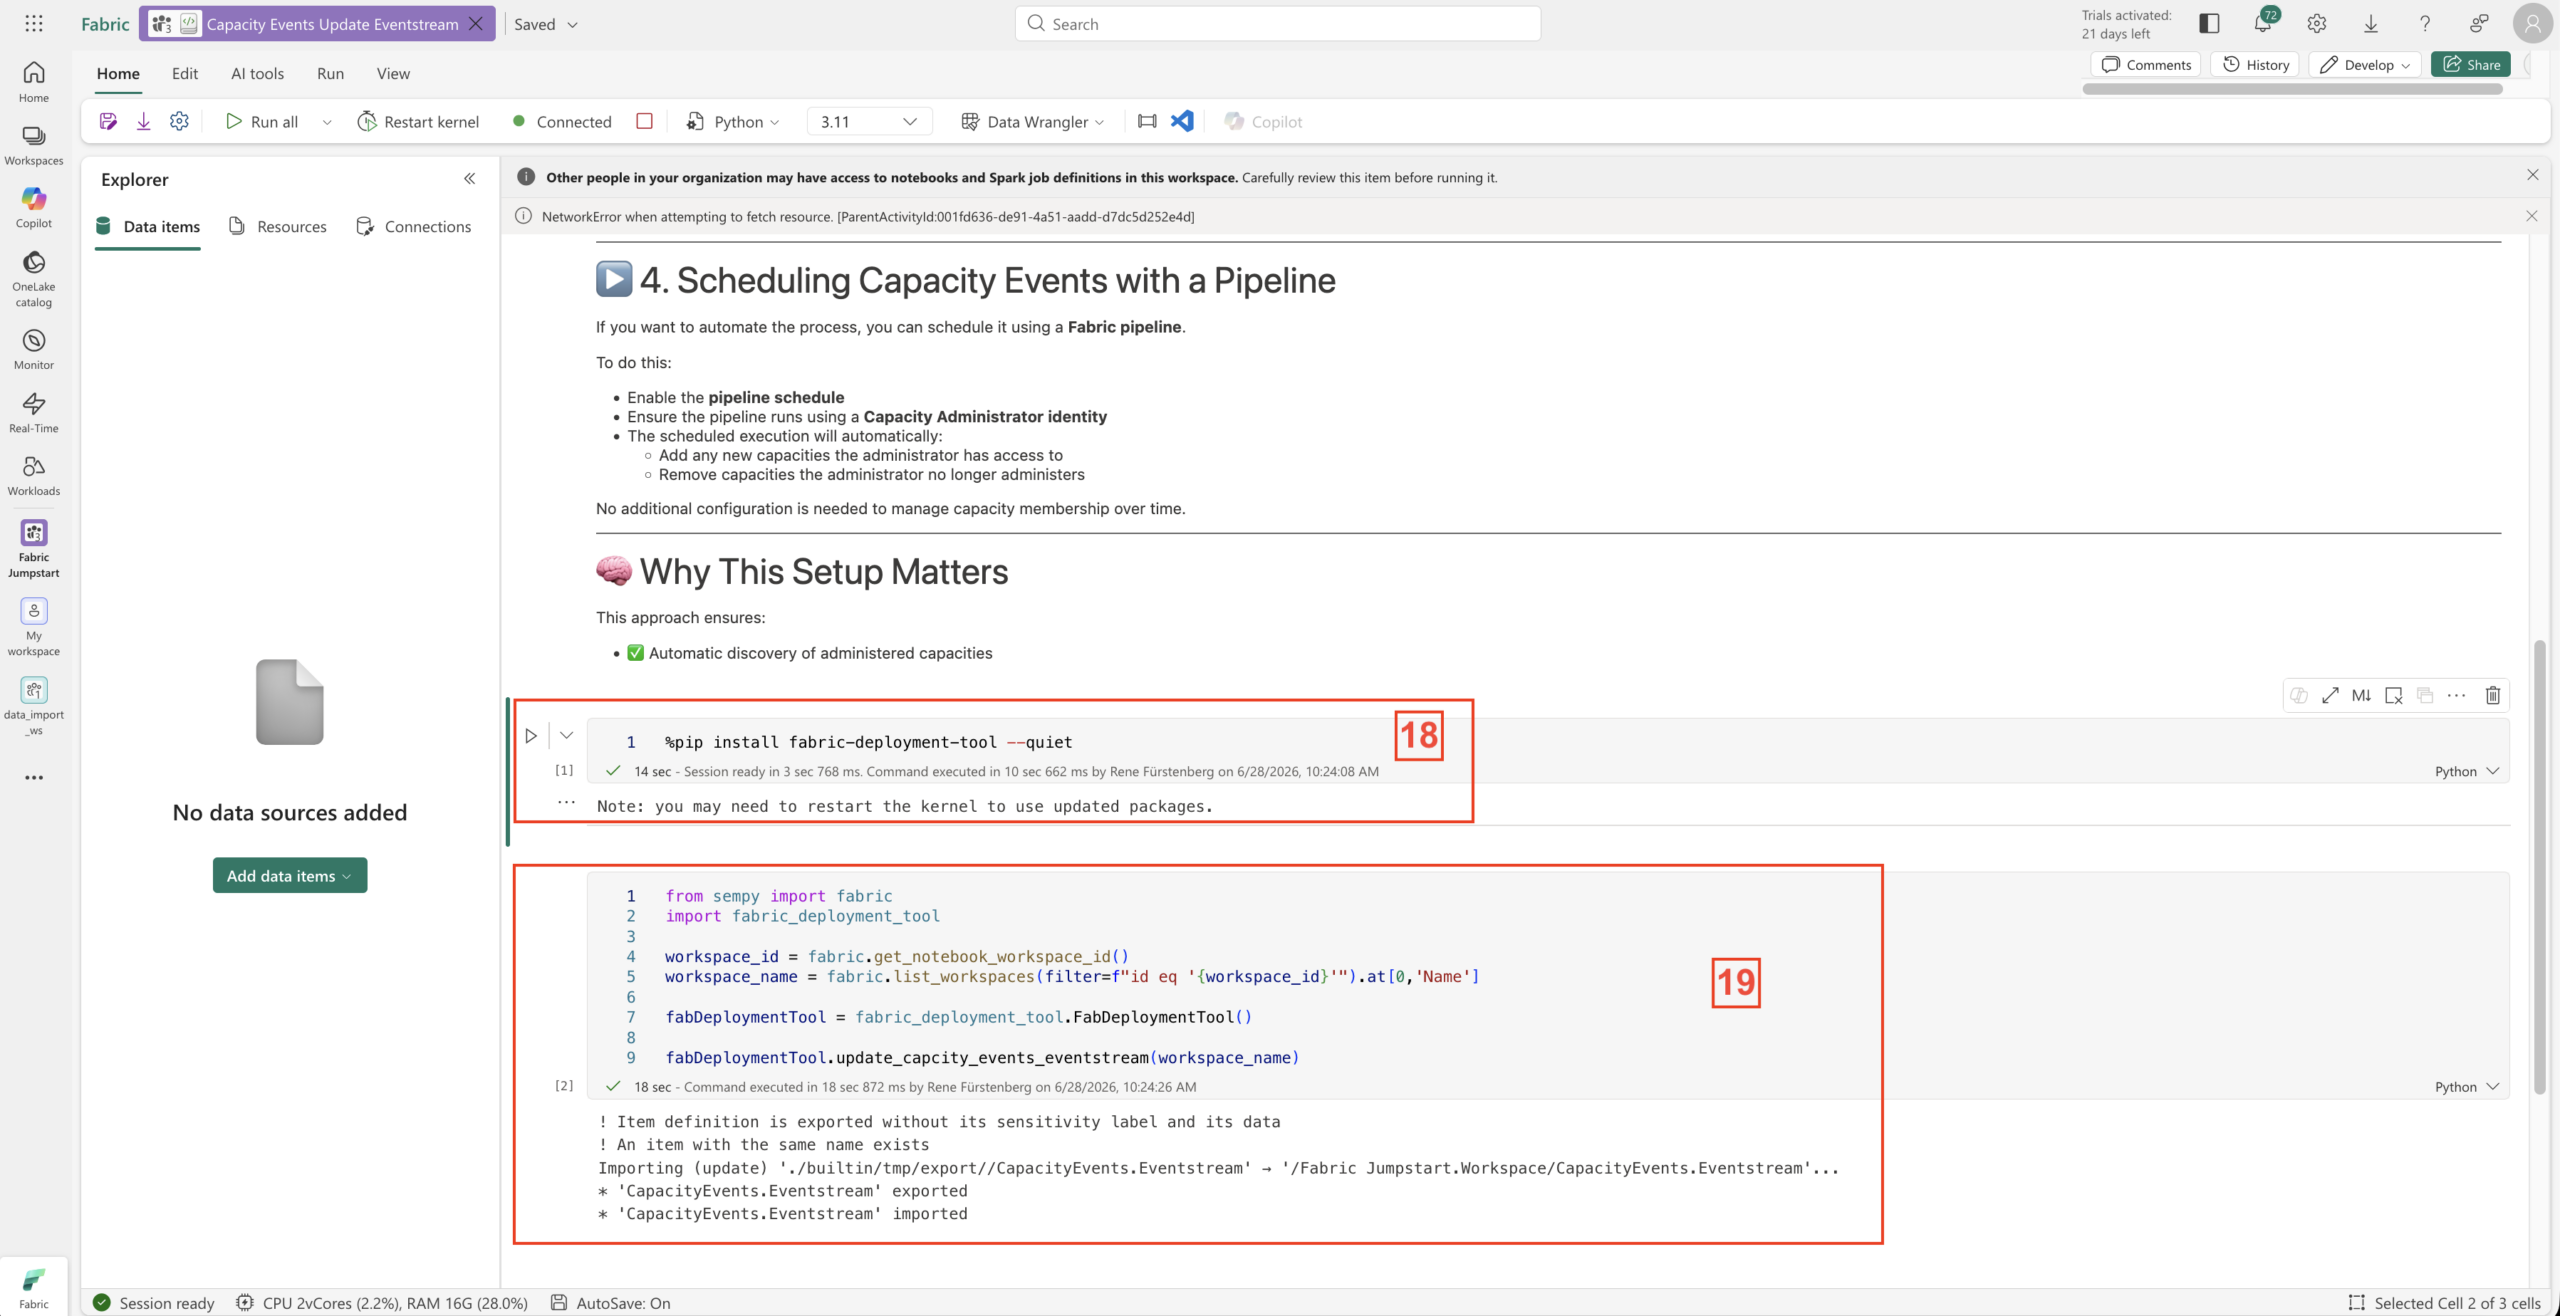
- 10a. Capacity Update Notebook
-
- 10b. Capacity Update Notebook run
-
- 11. Evenstream with the existing Capacities

-
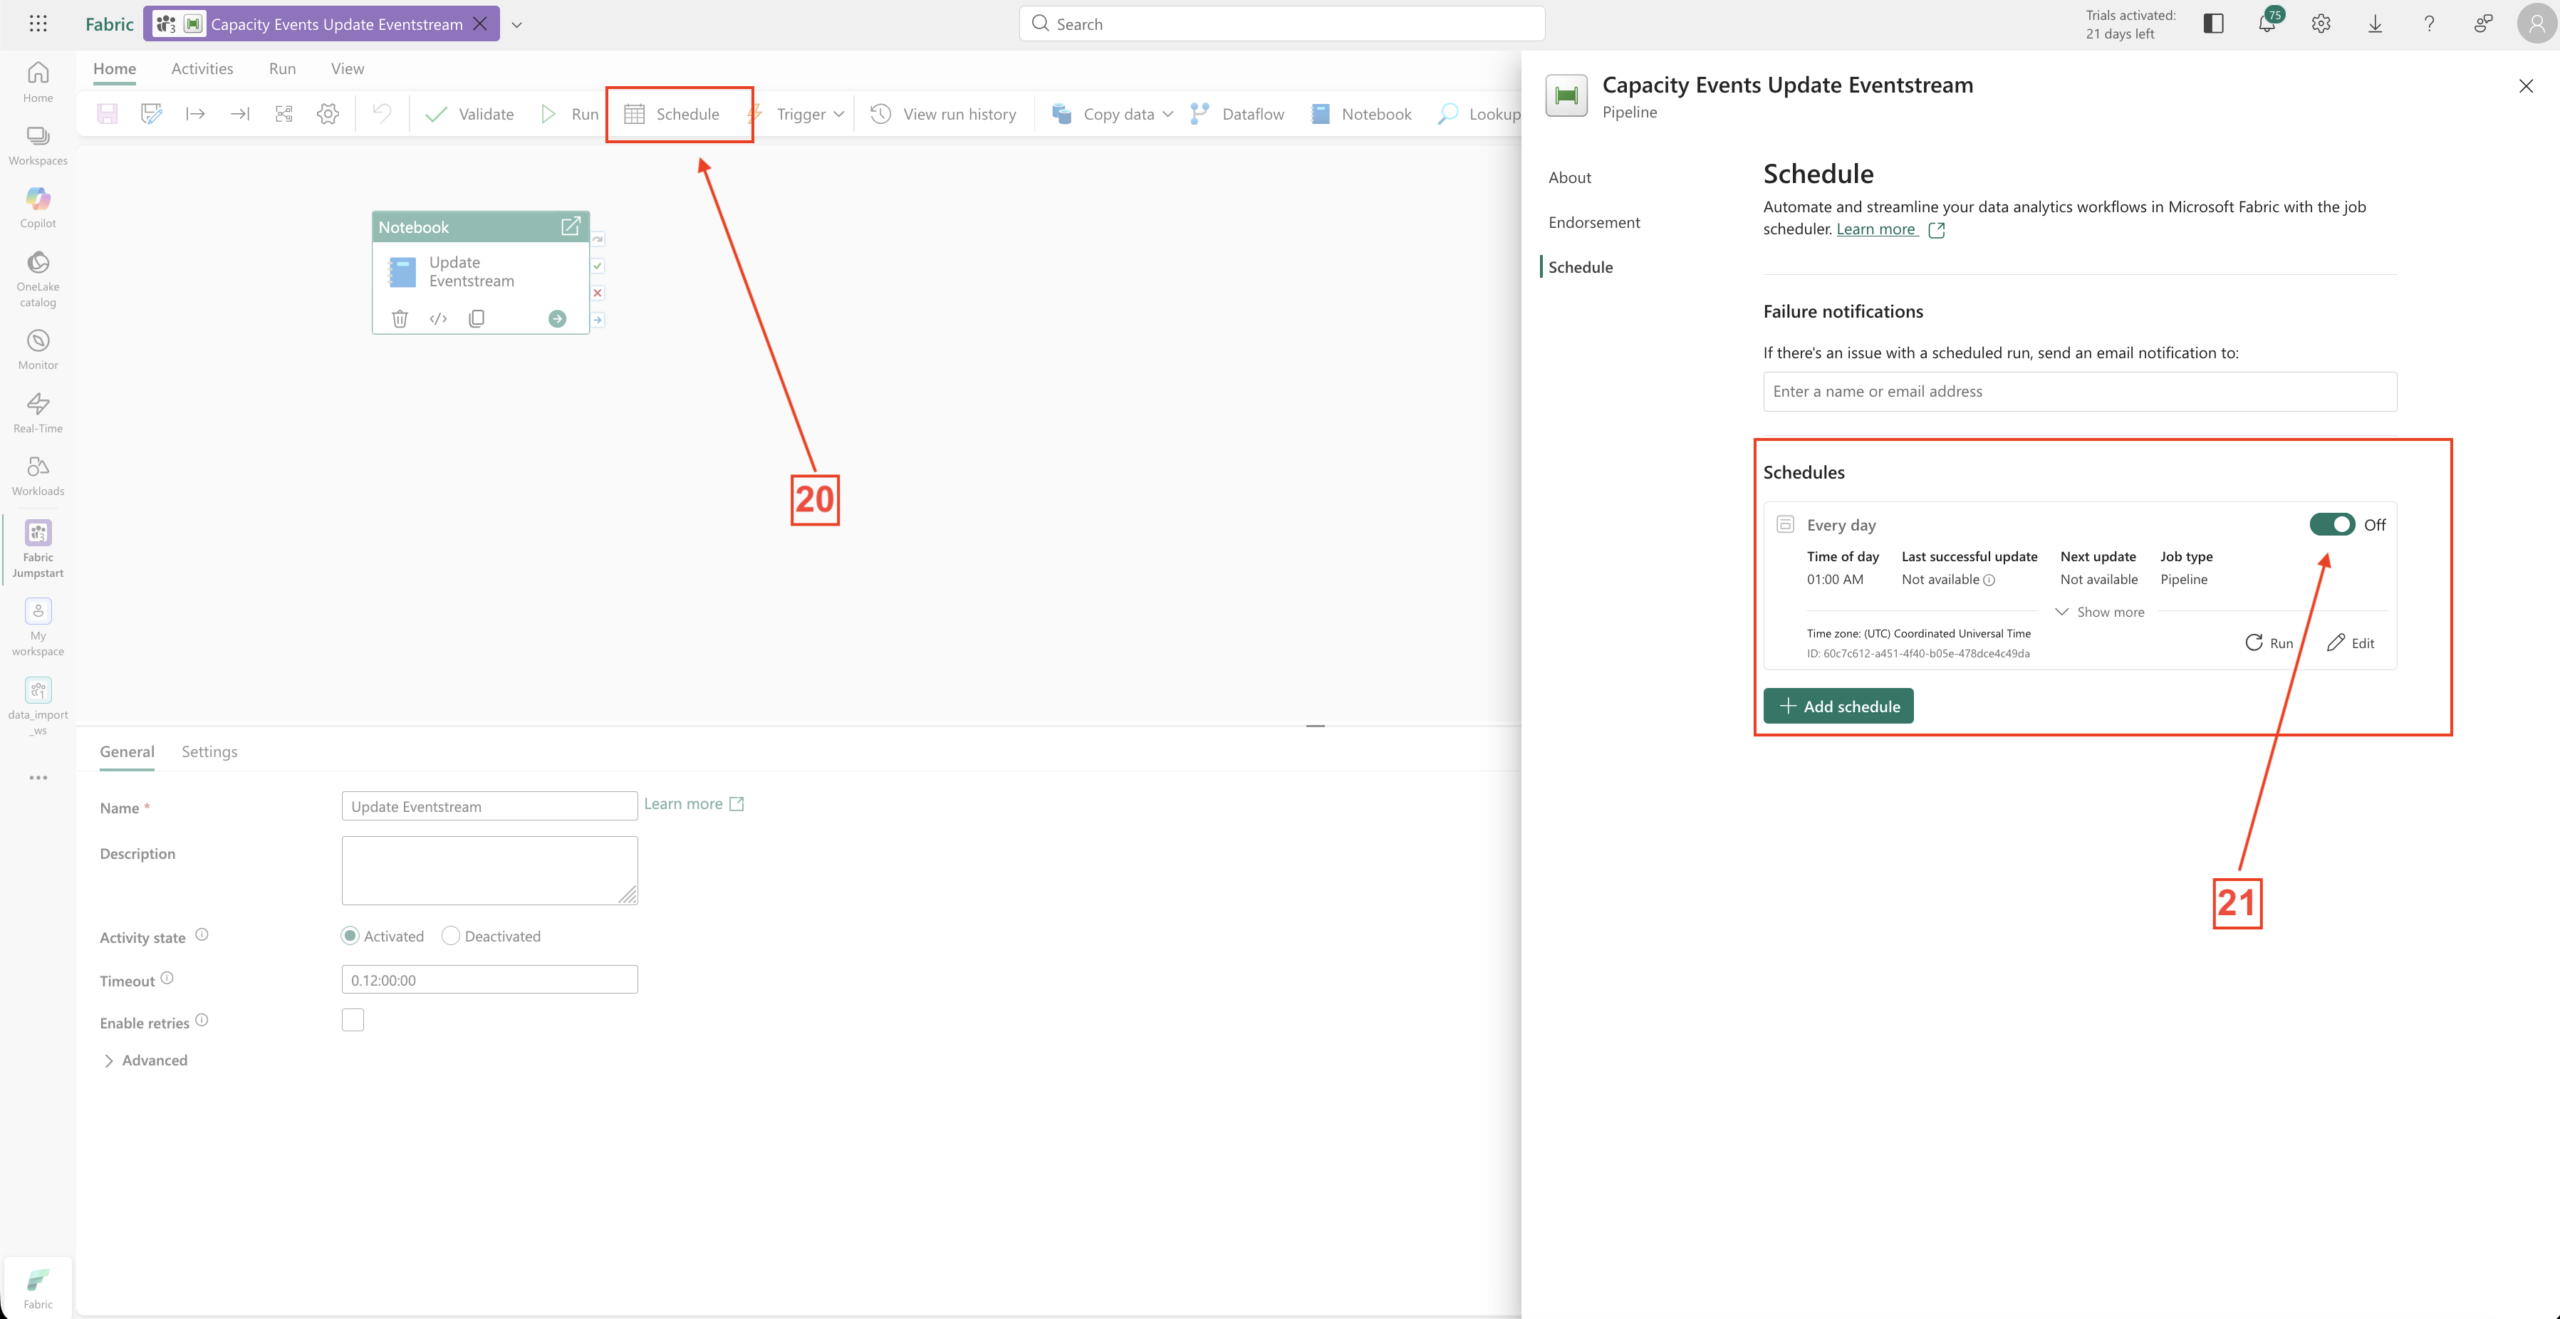
- 12. Activate the Schedule
-
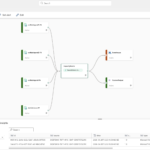
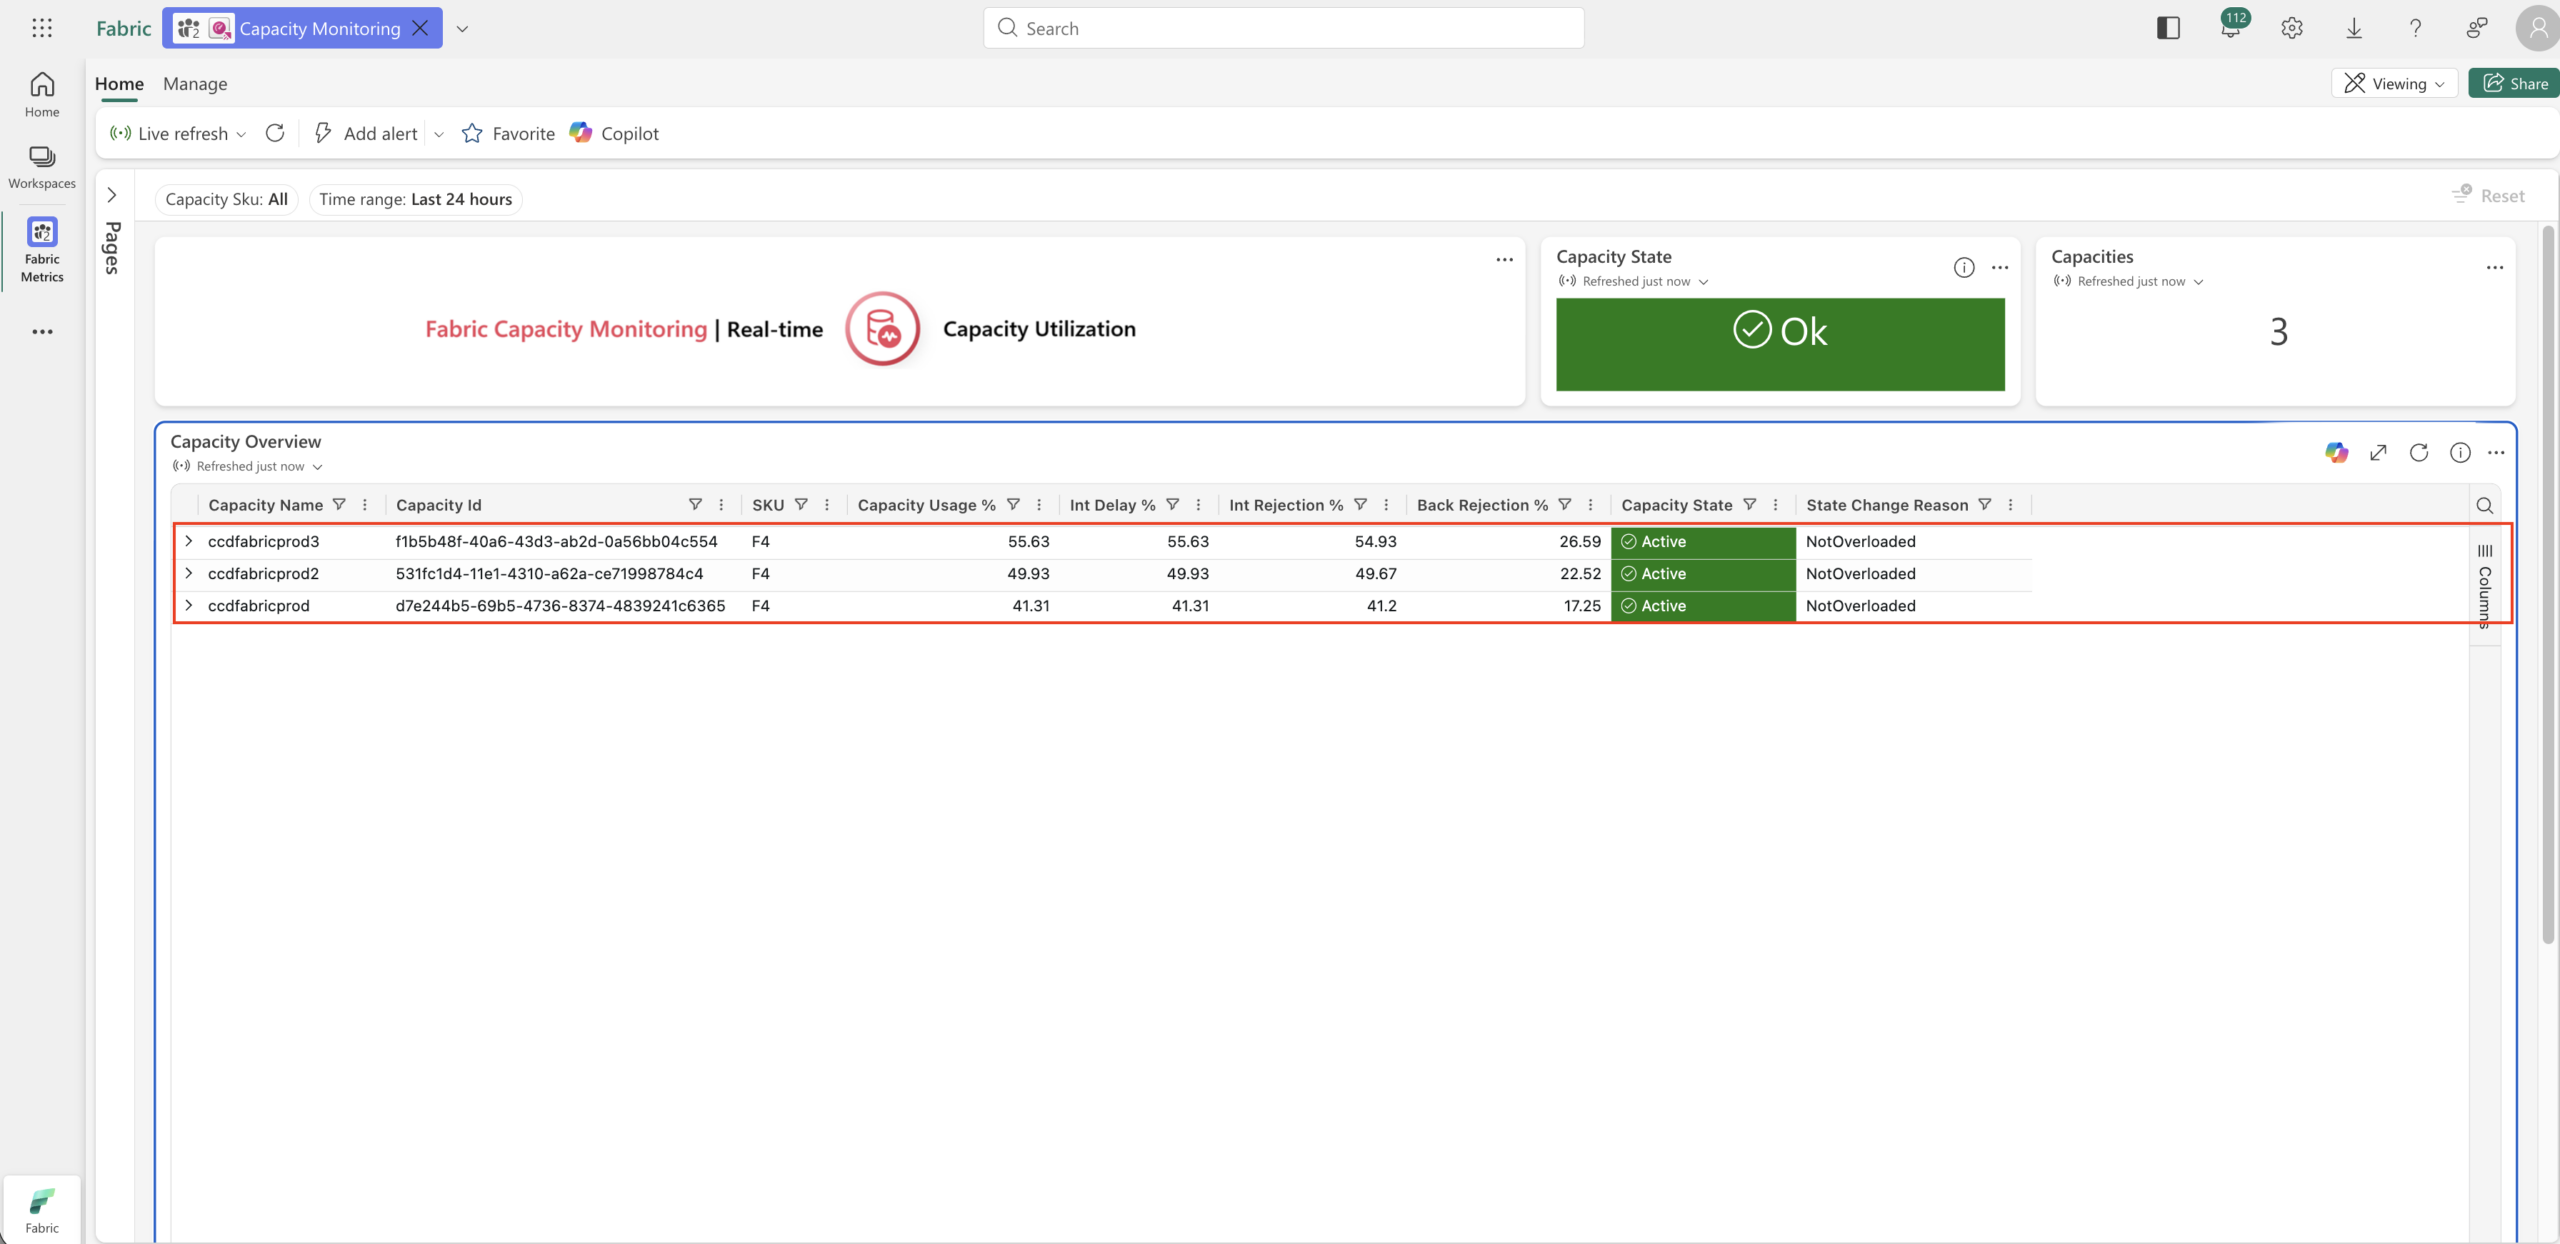
- 13. Real Time Dashboard with Capacities and there Events
-
- 14. CapacityEvents Eventstream
-
- 15. Configure the Eventstream
-
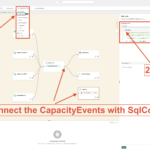
- 16. Add SQL code Transformation and connect the Transformation
-
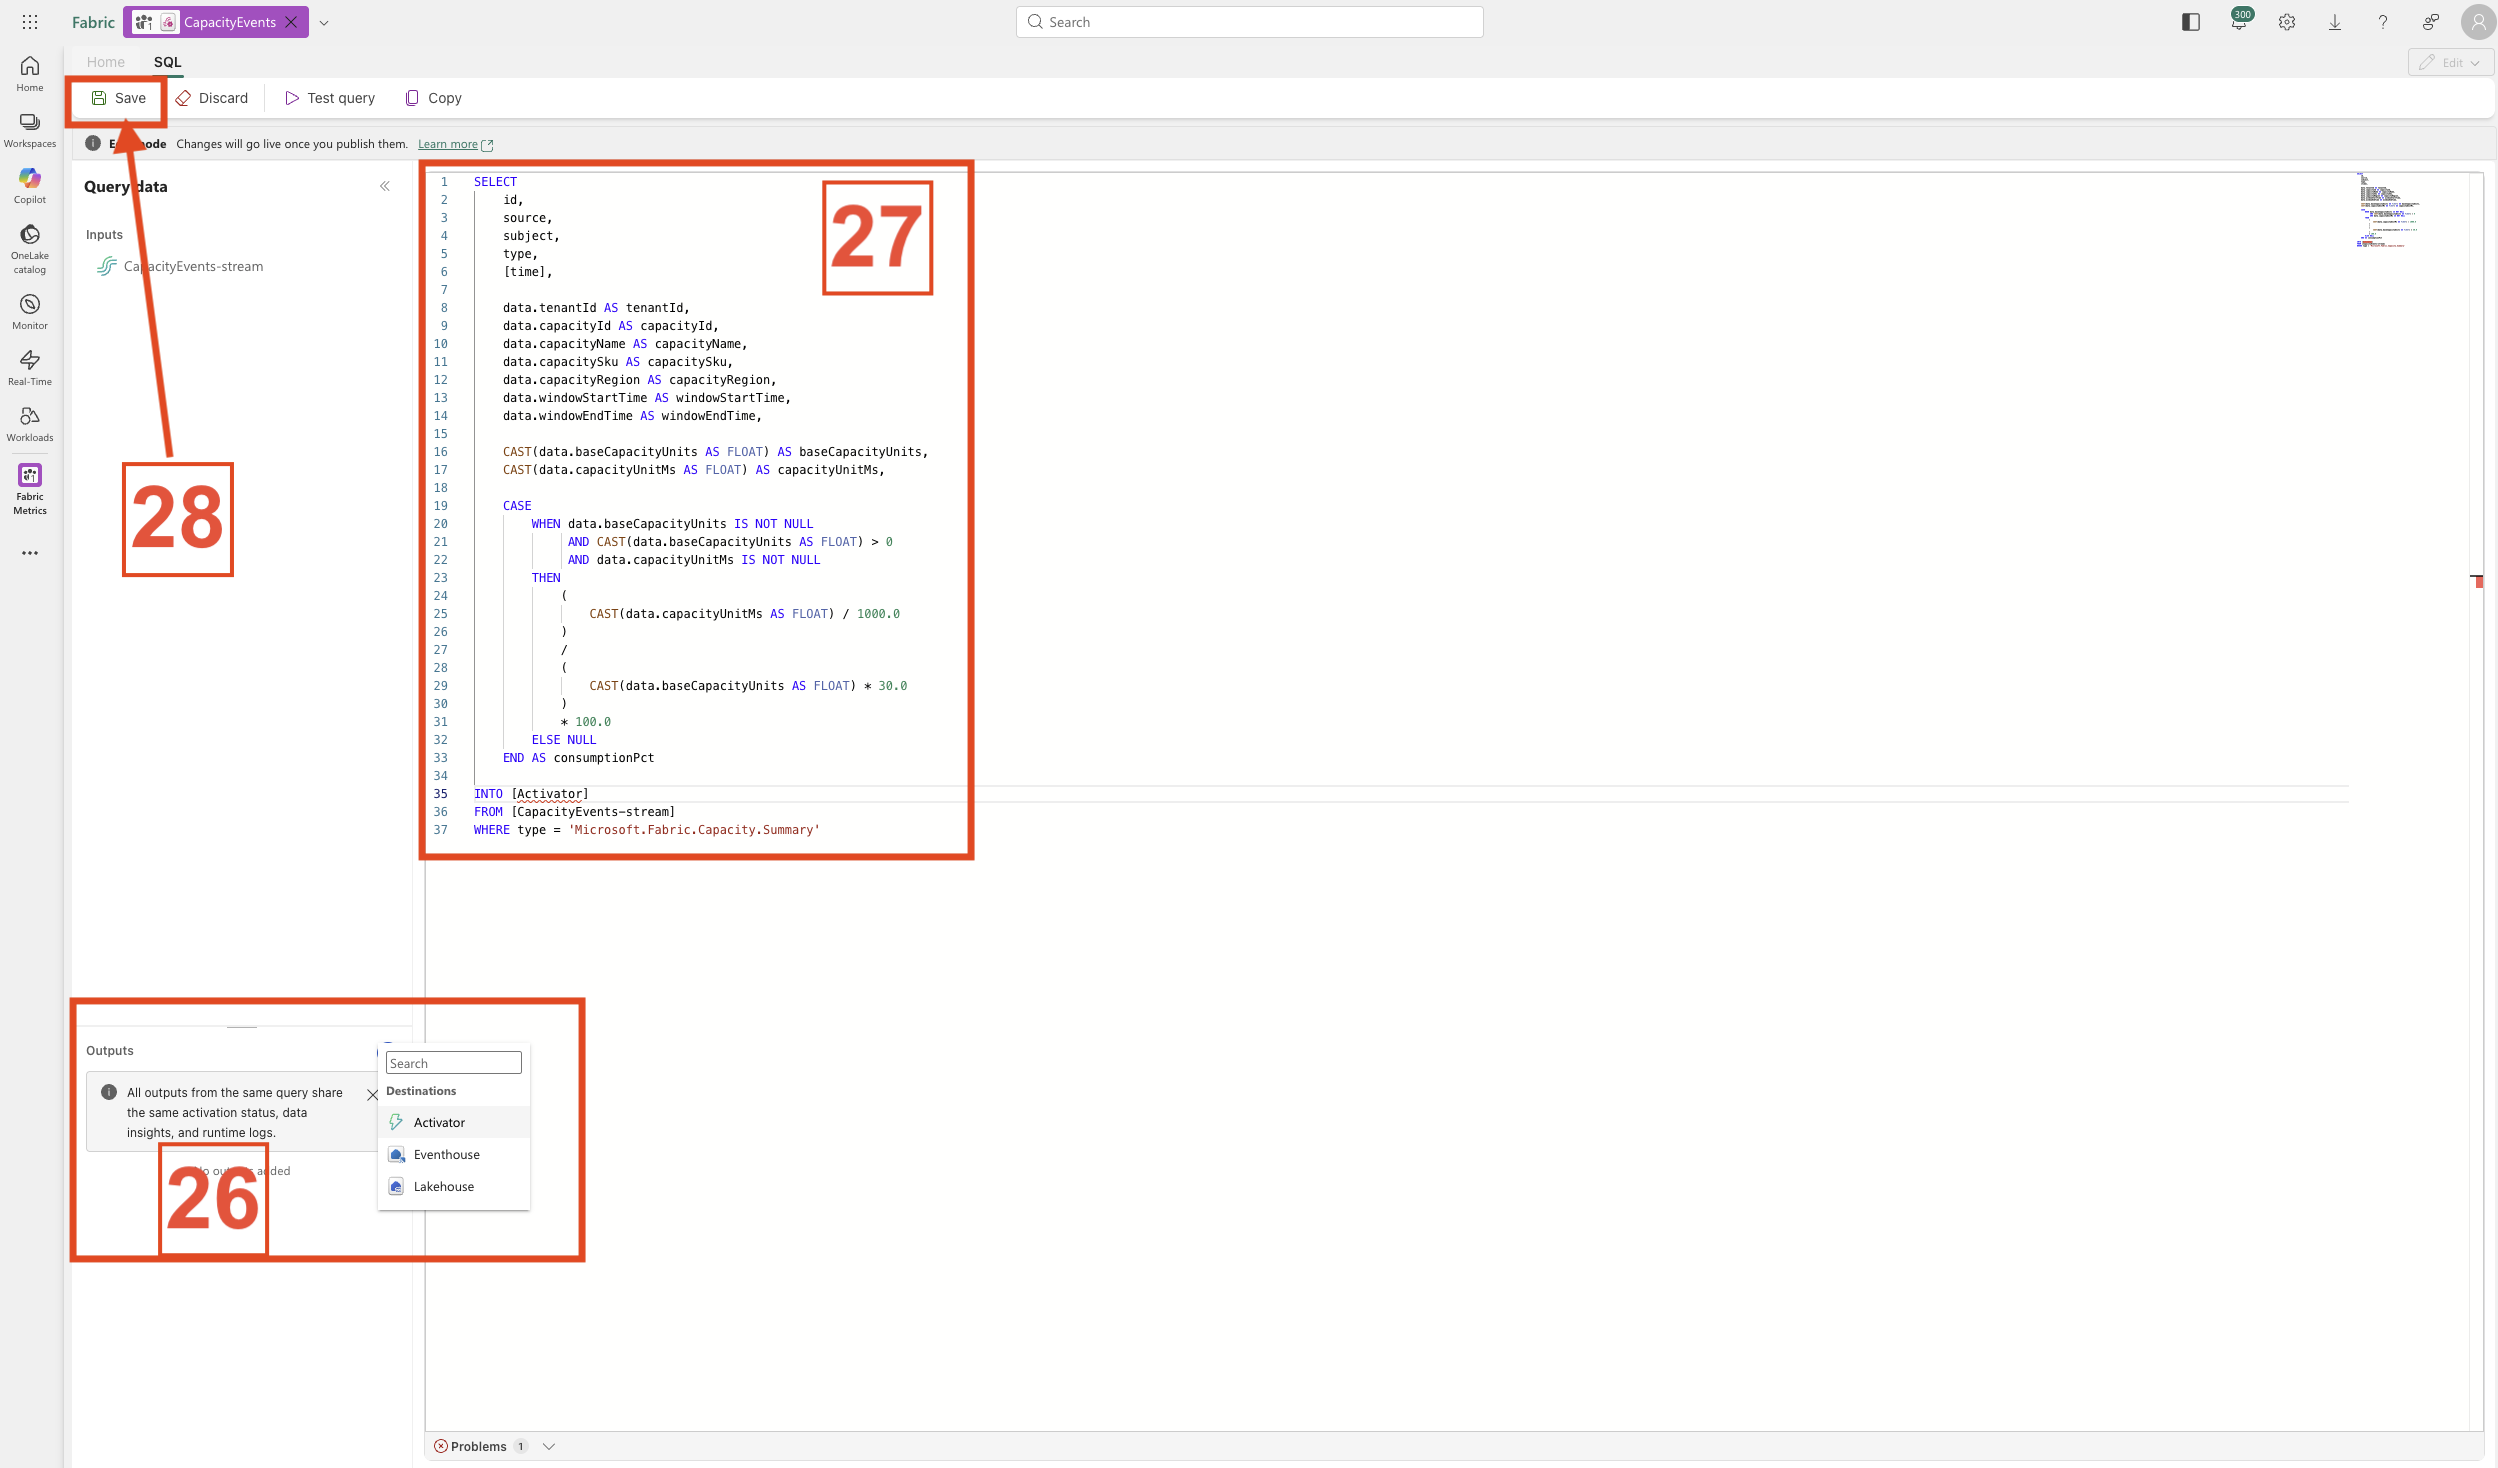
- 17. Paste the SQL Code and Add an Output
-
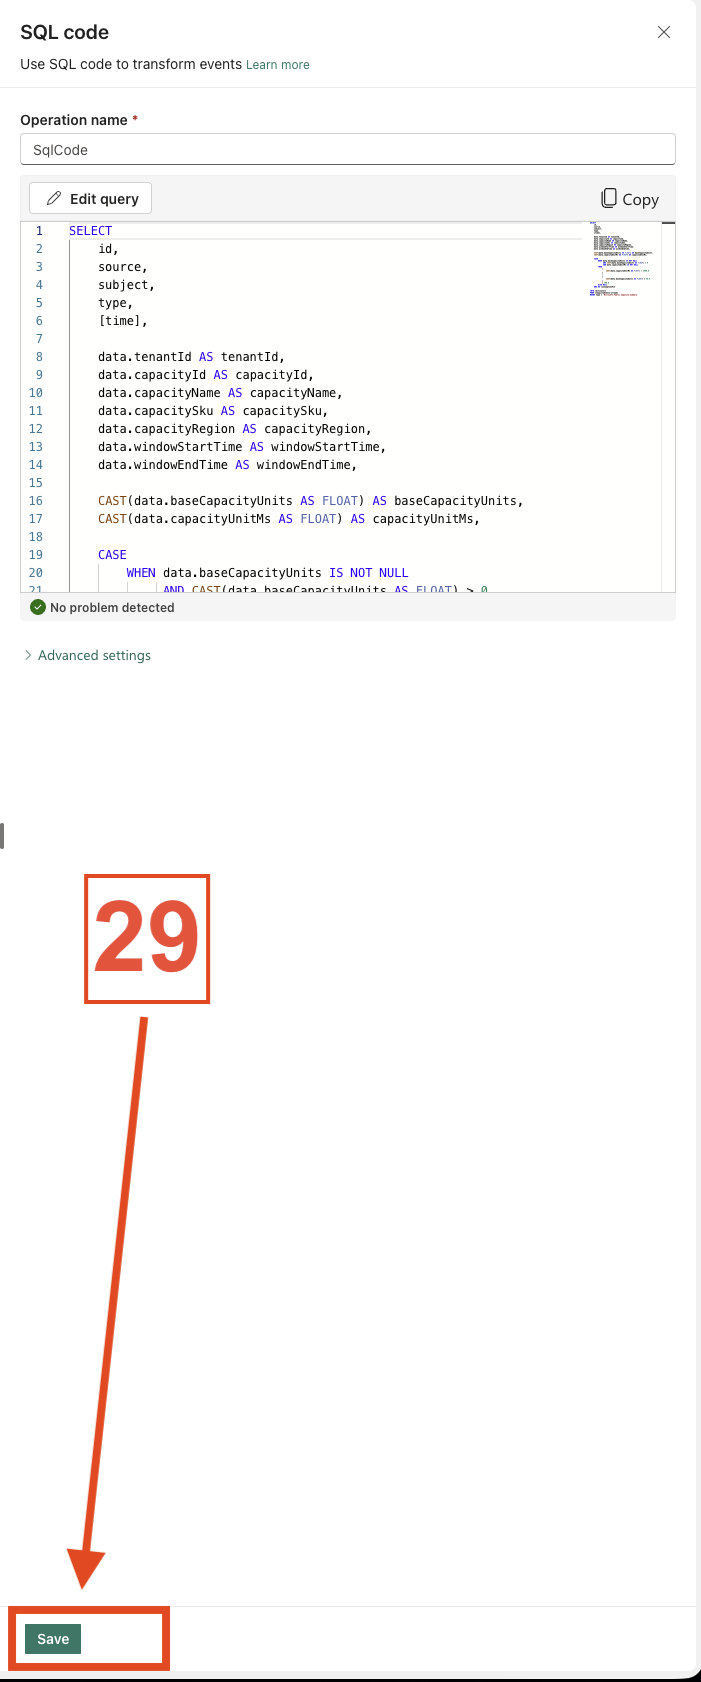
- 18. SQL Script and Click on Save
-
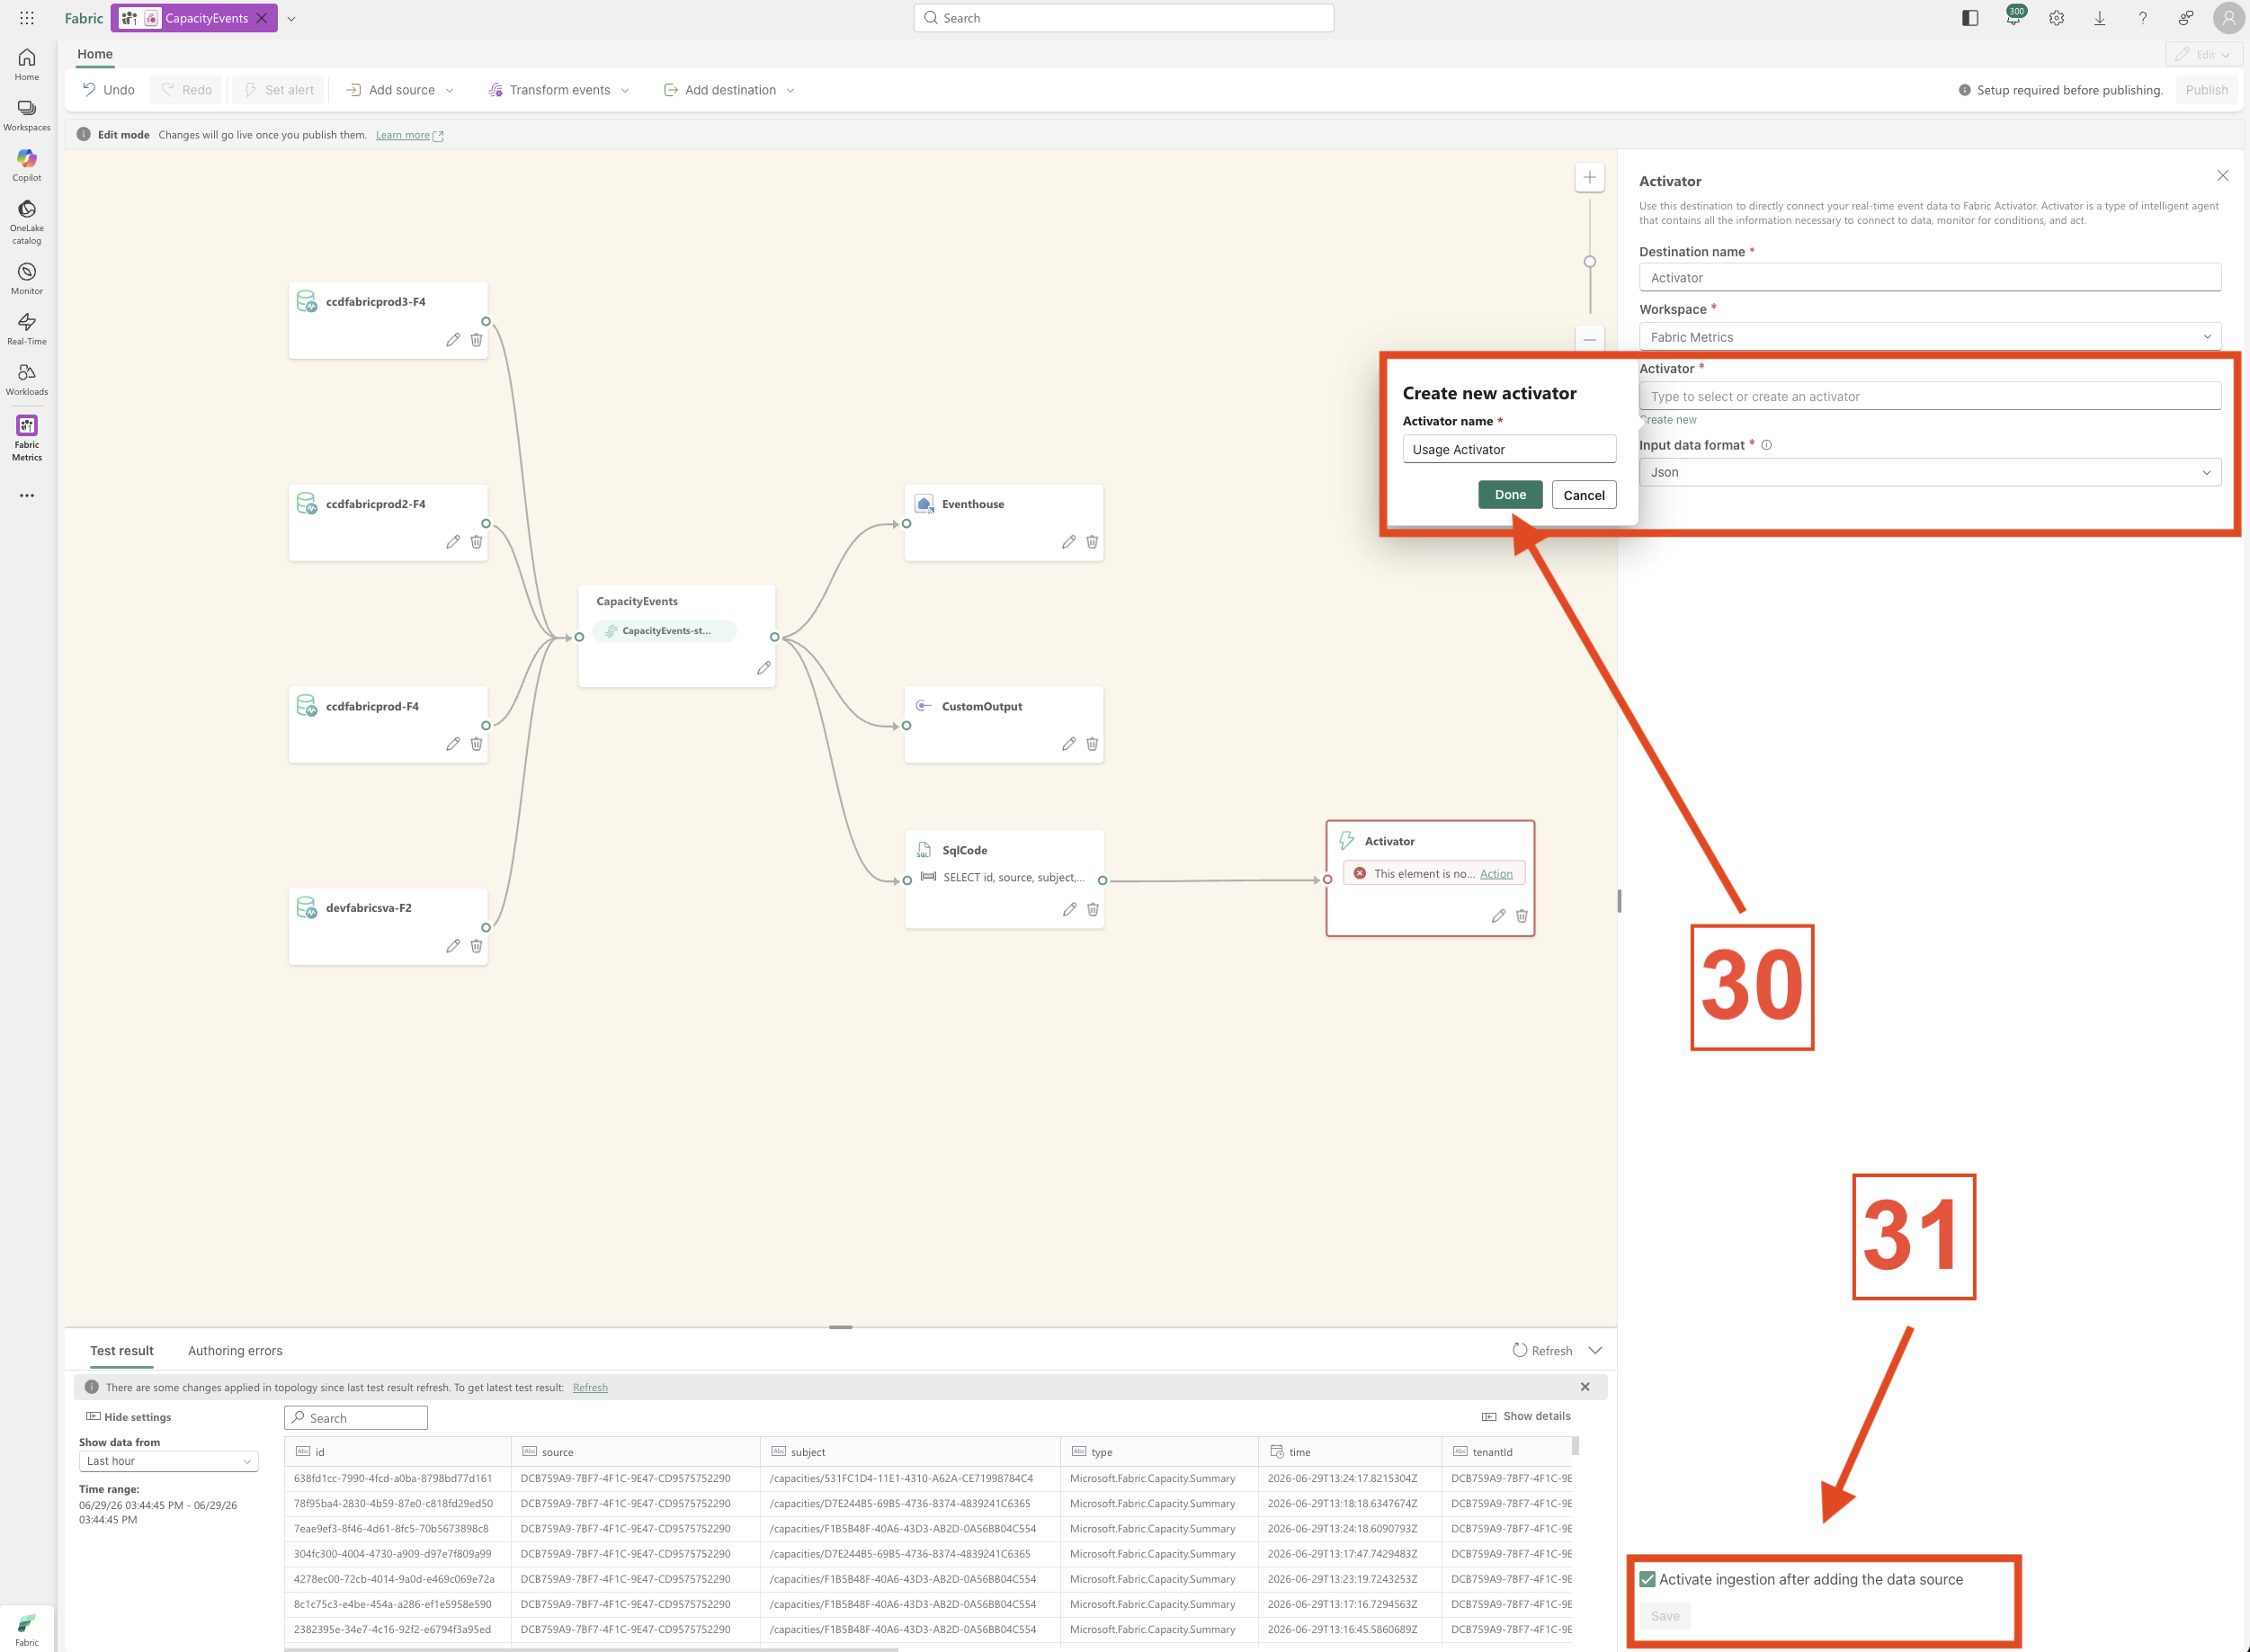
- 19. Create the Activator
-
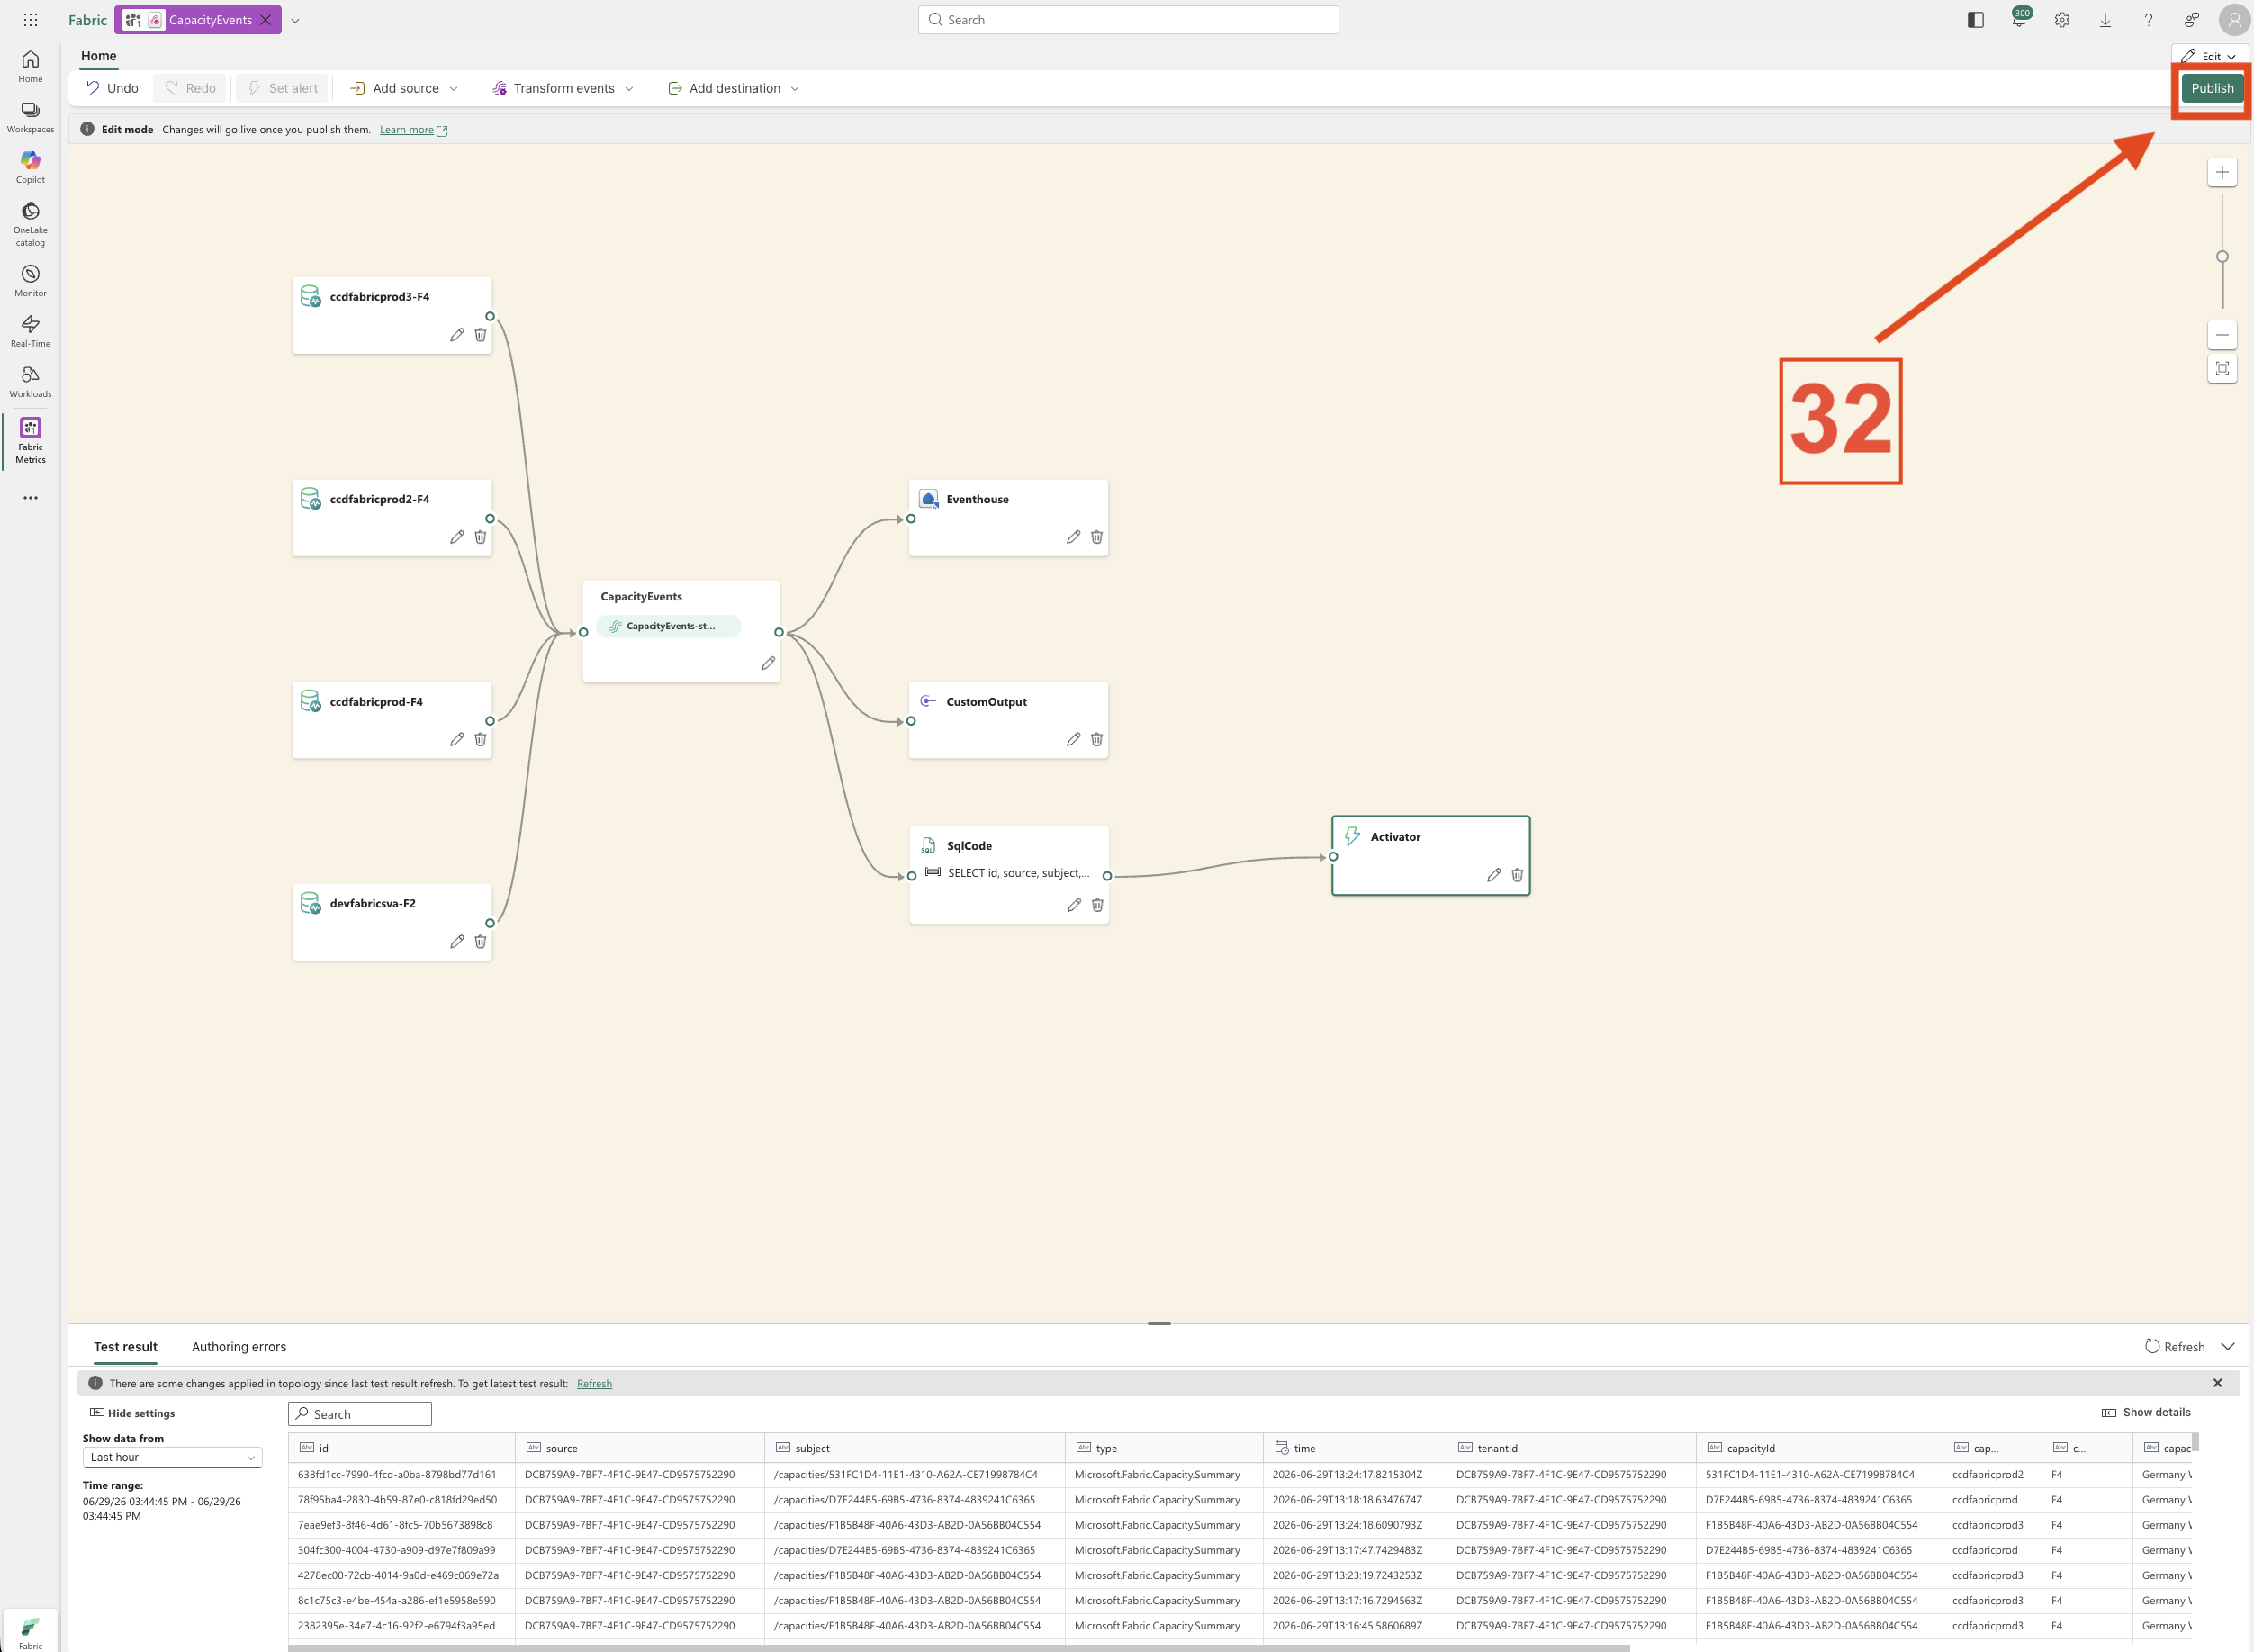
- 20. Publish
-
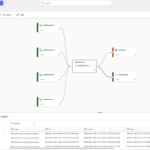
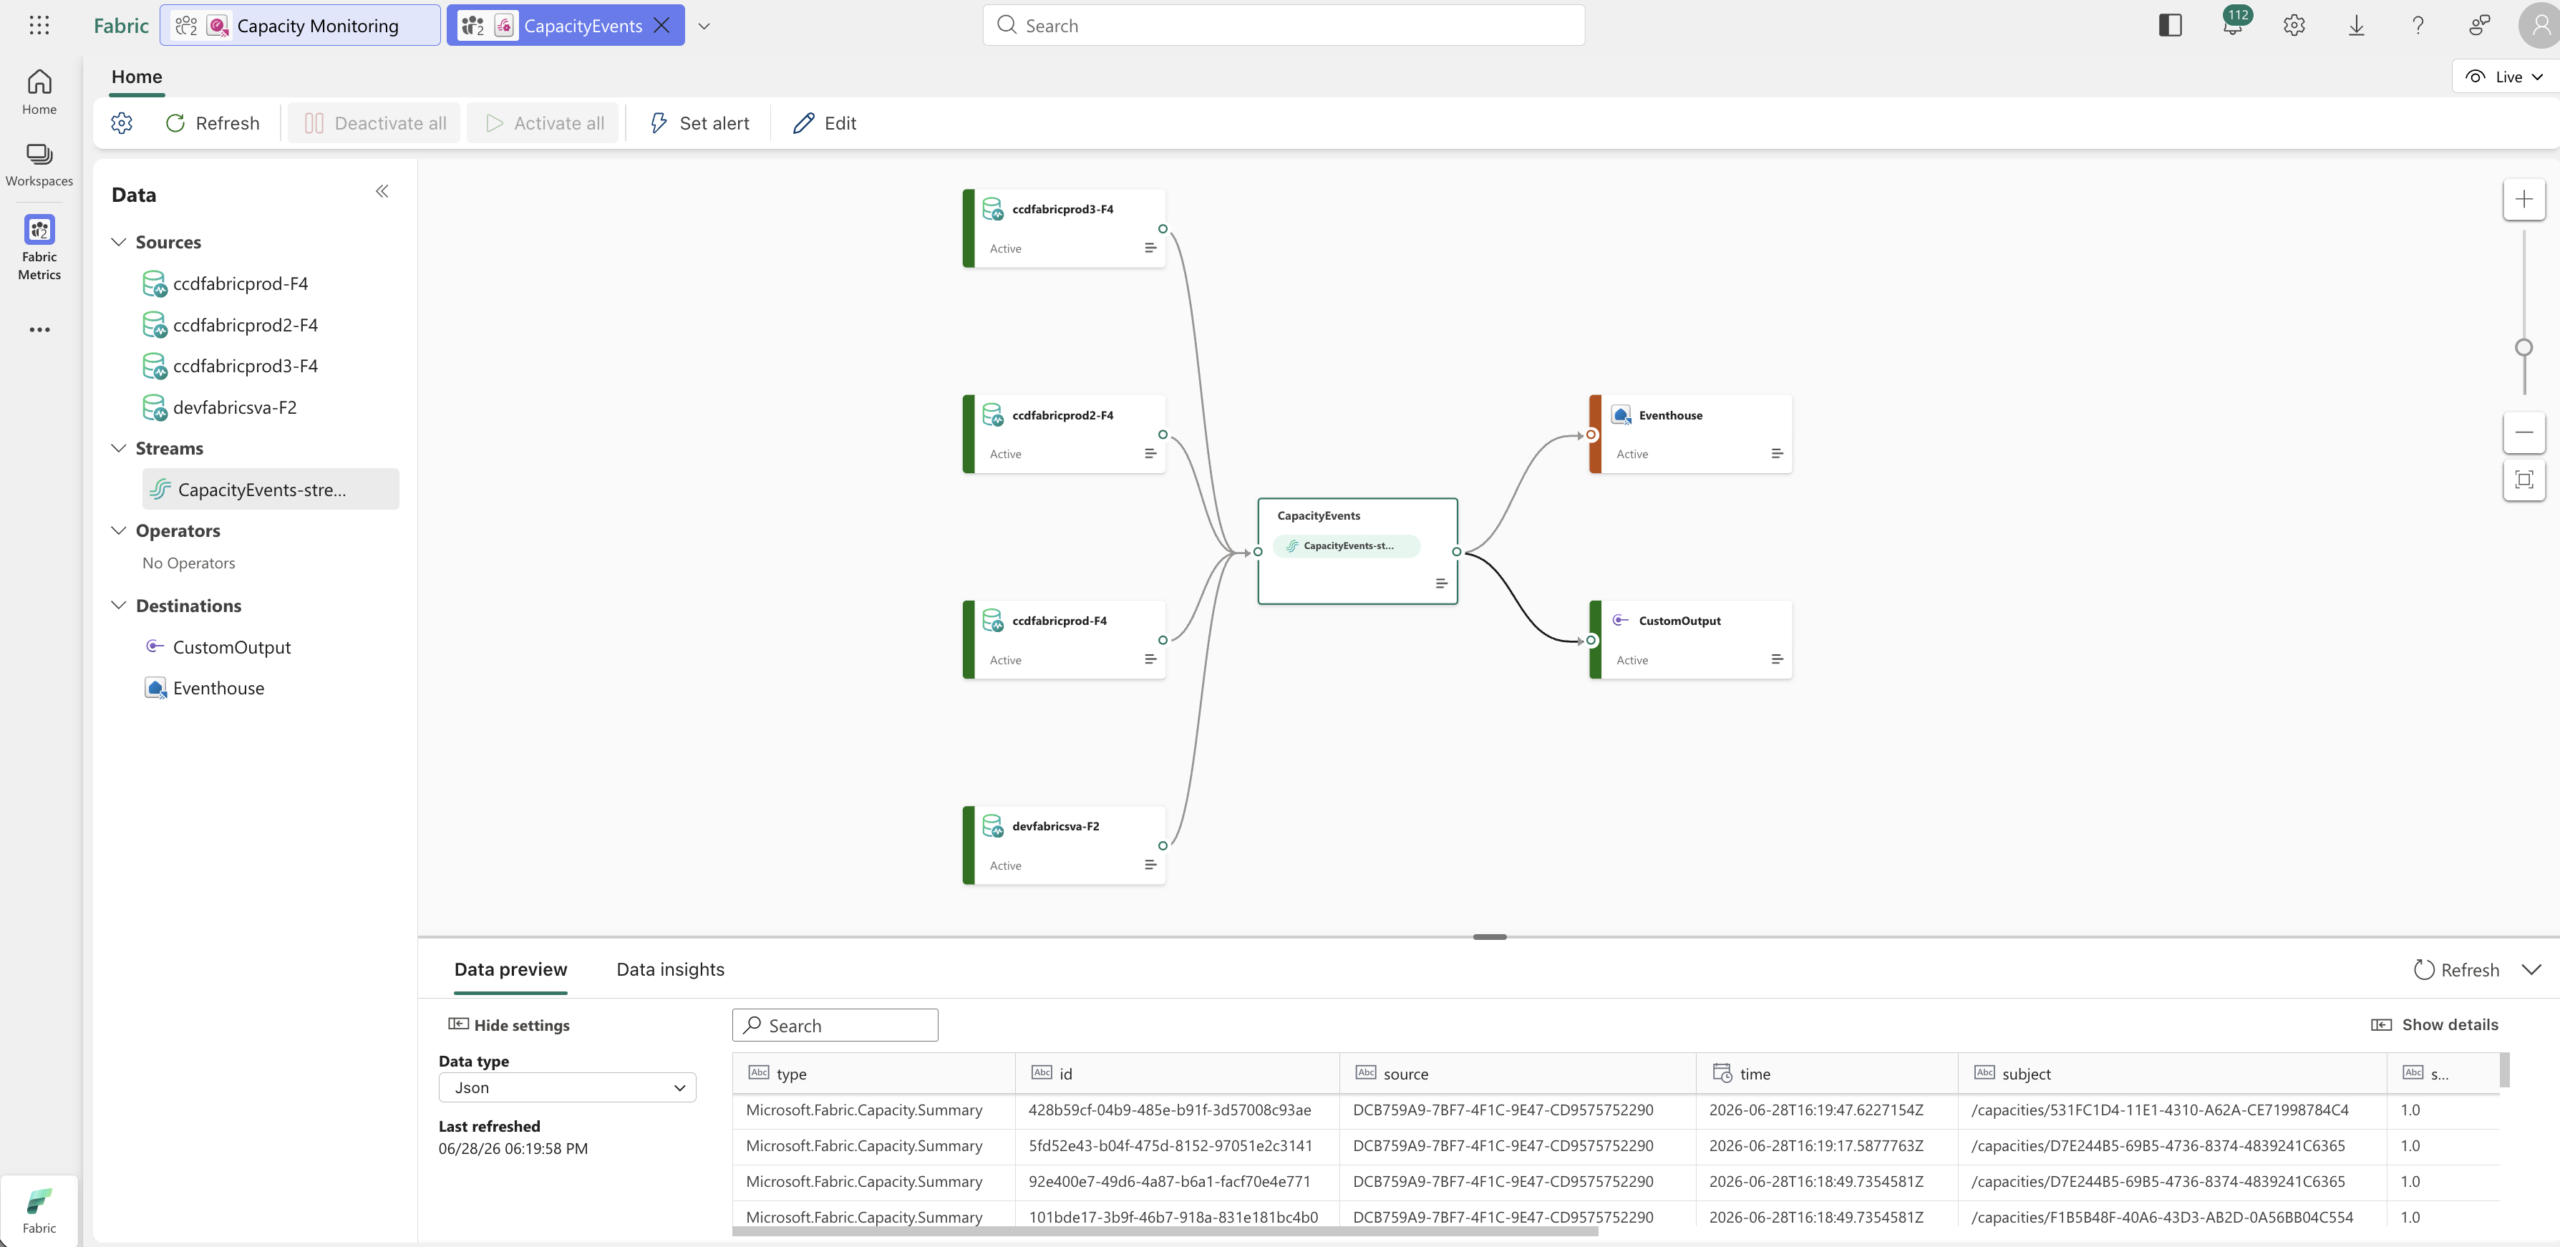
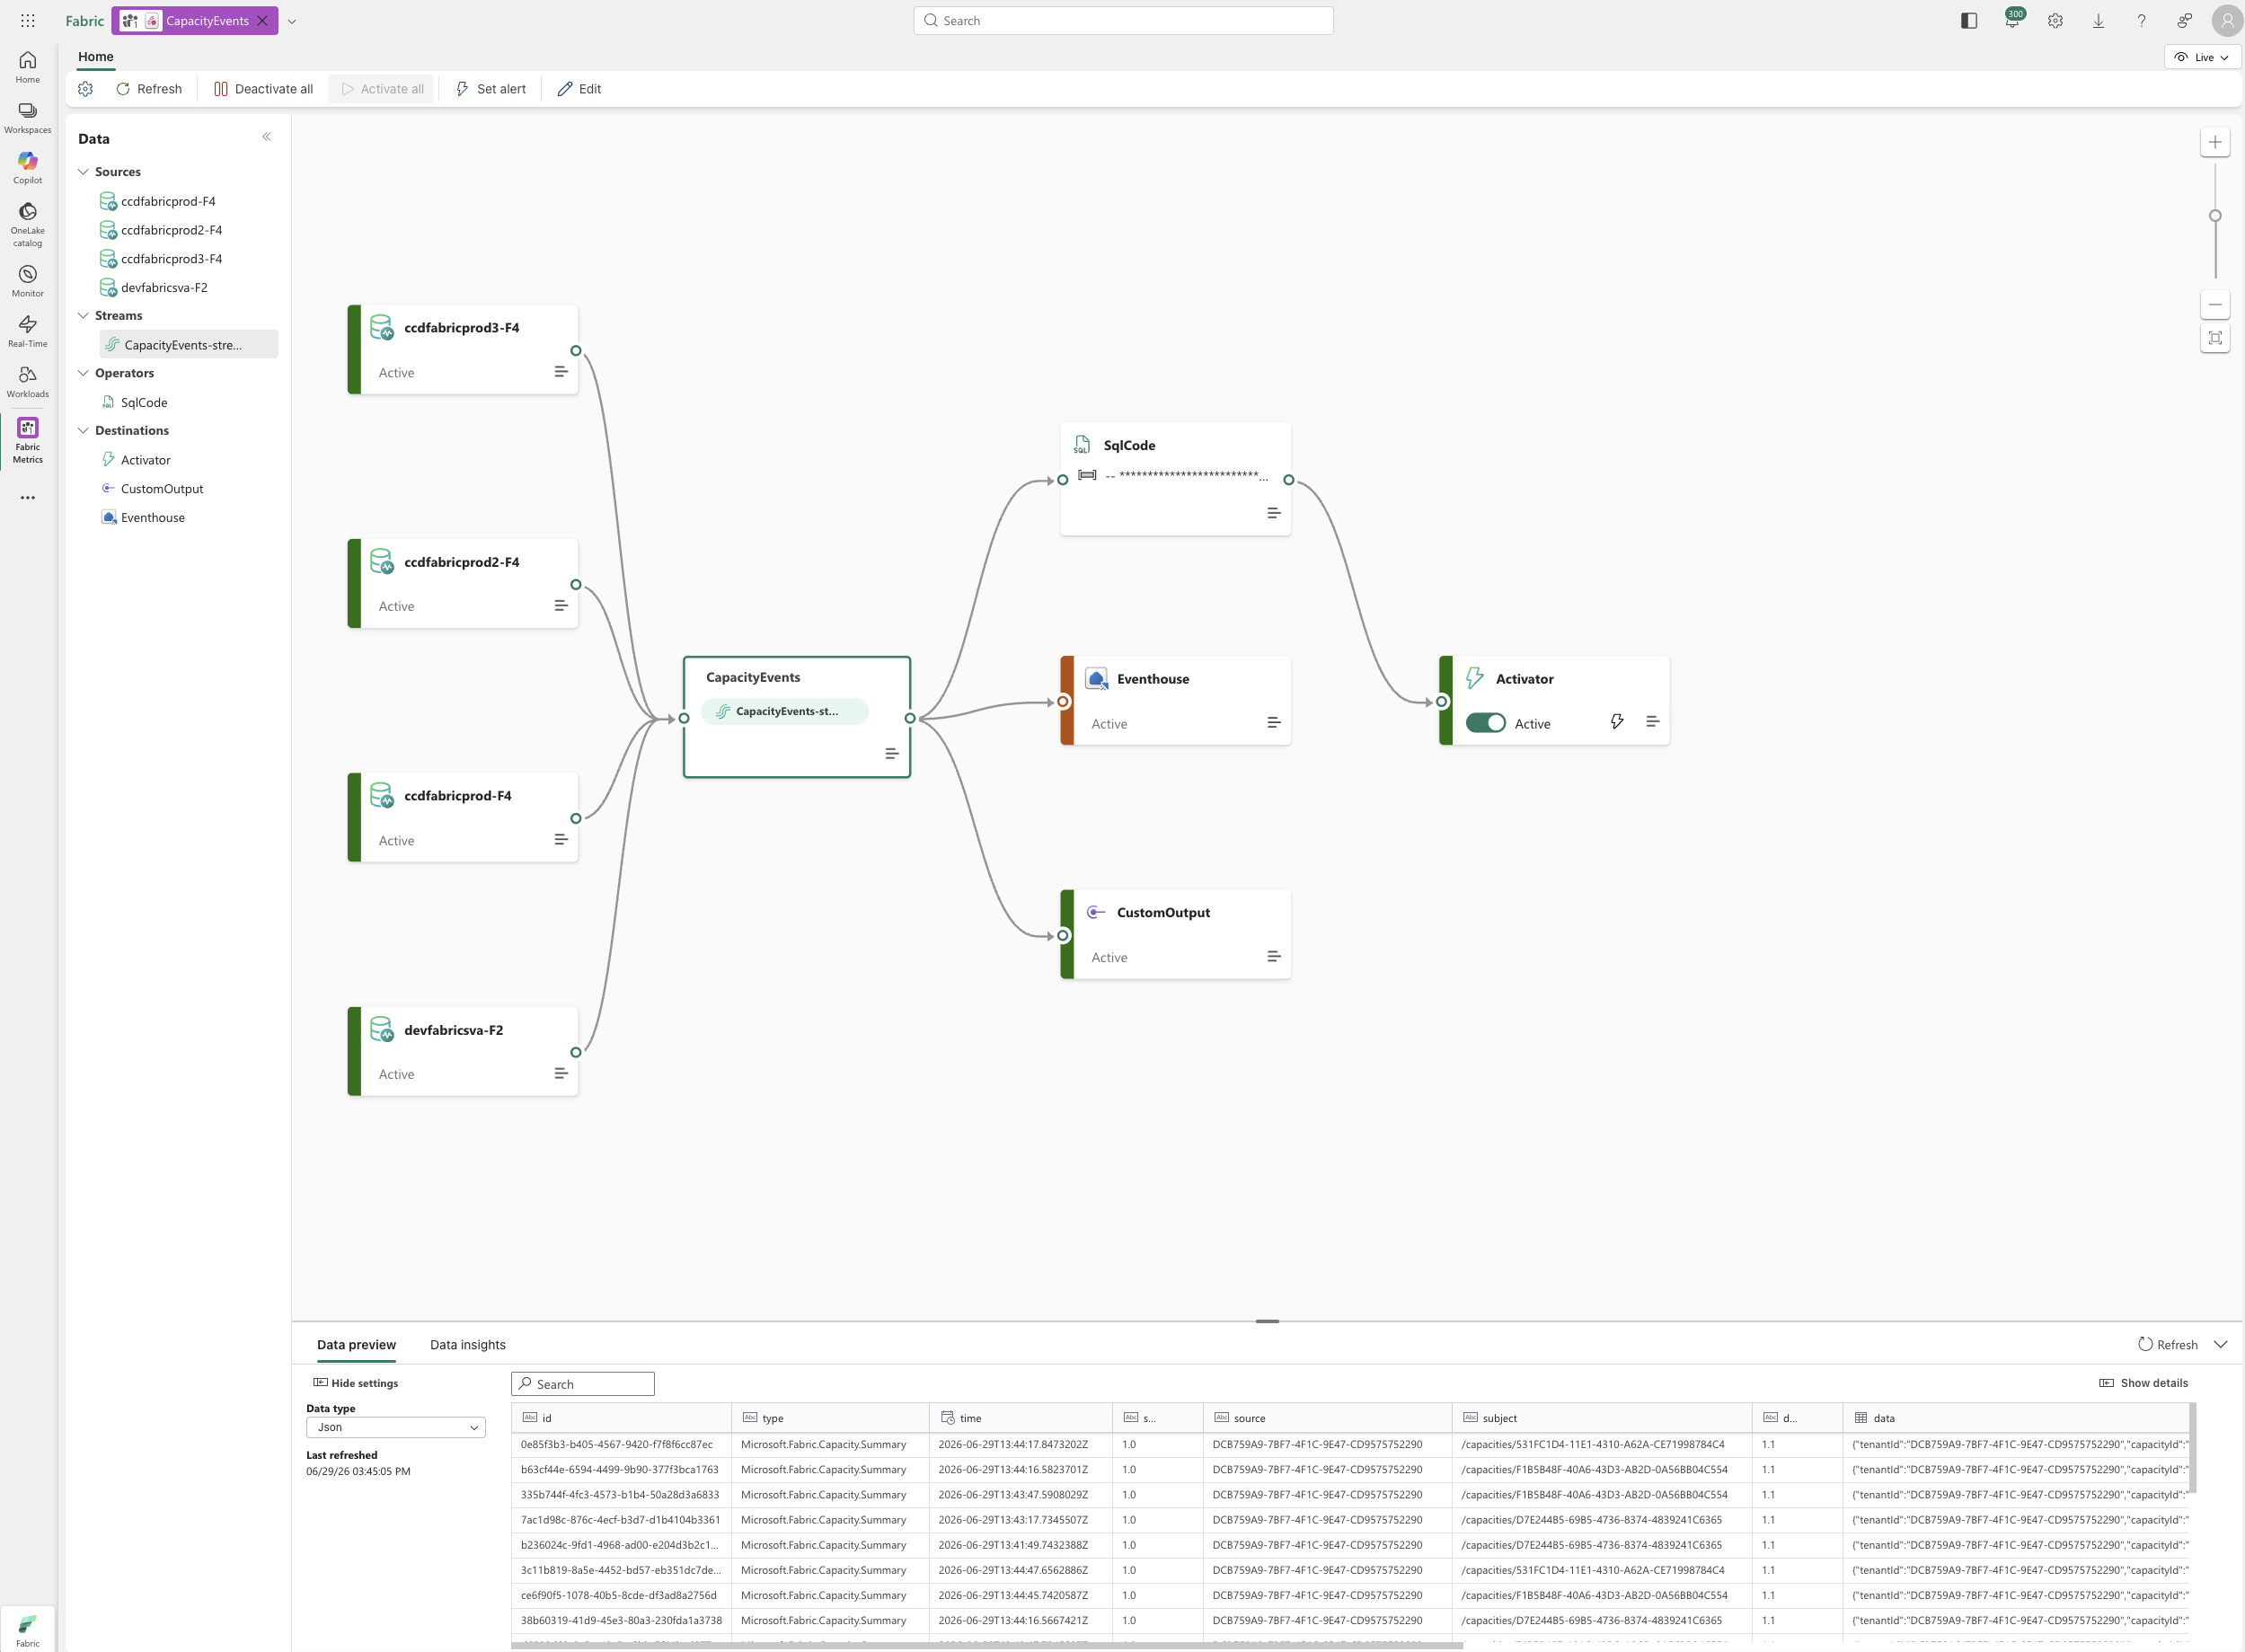
- 21. Overview of the Eventstream
-
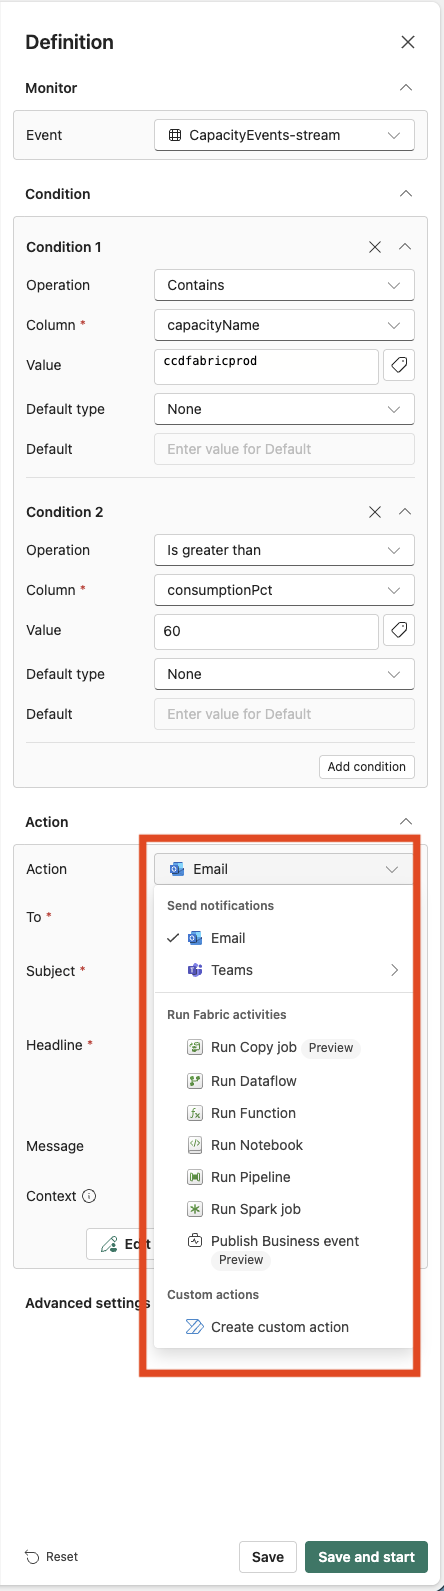
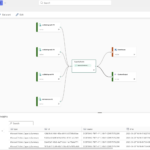
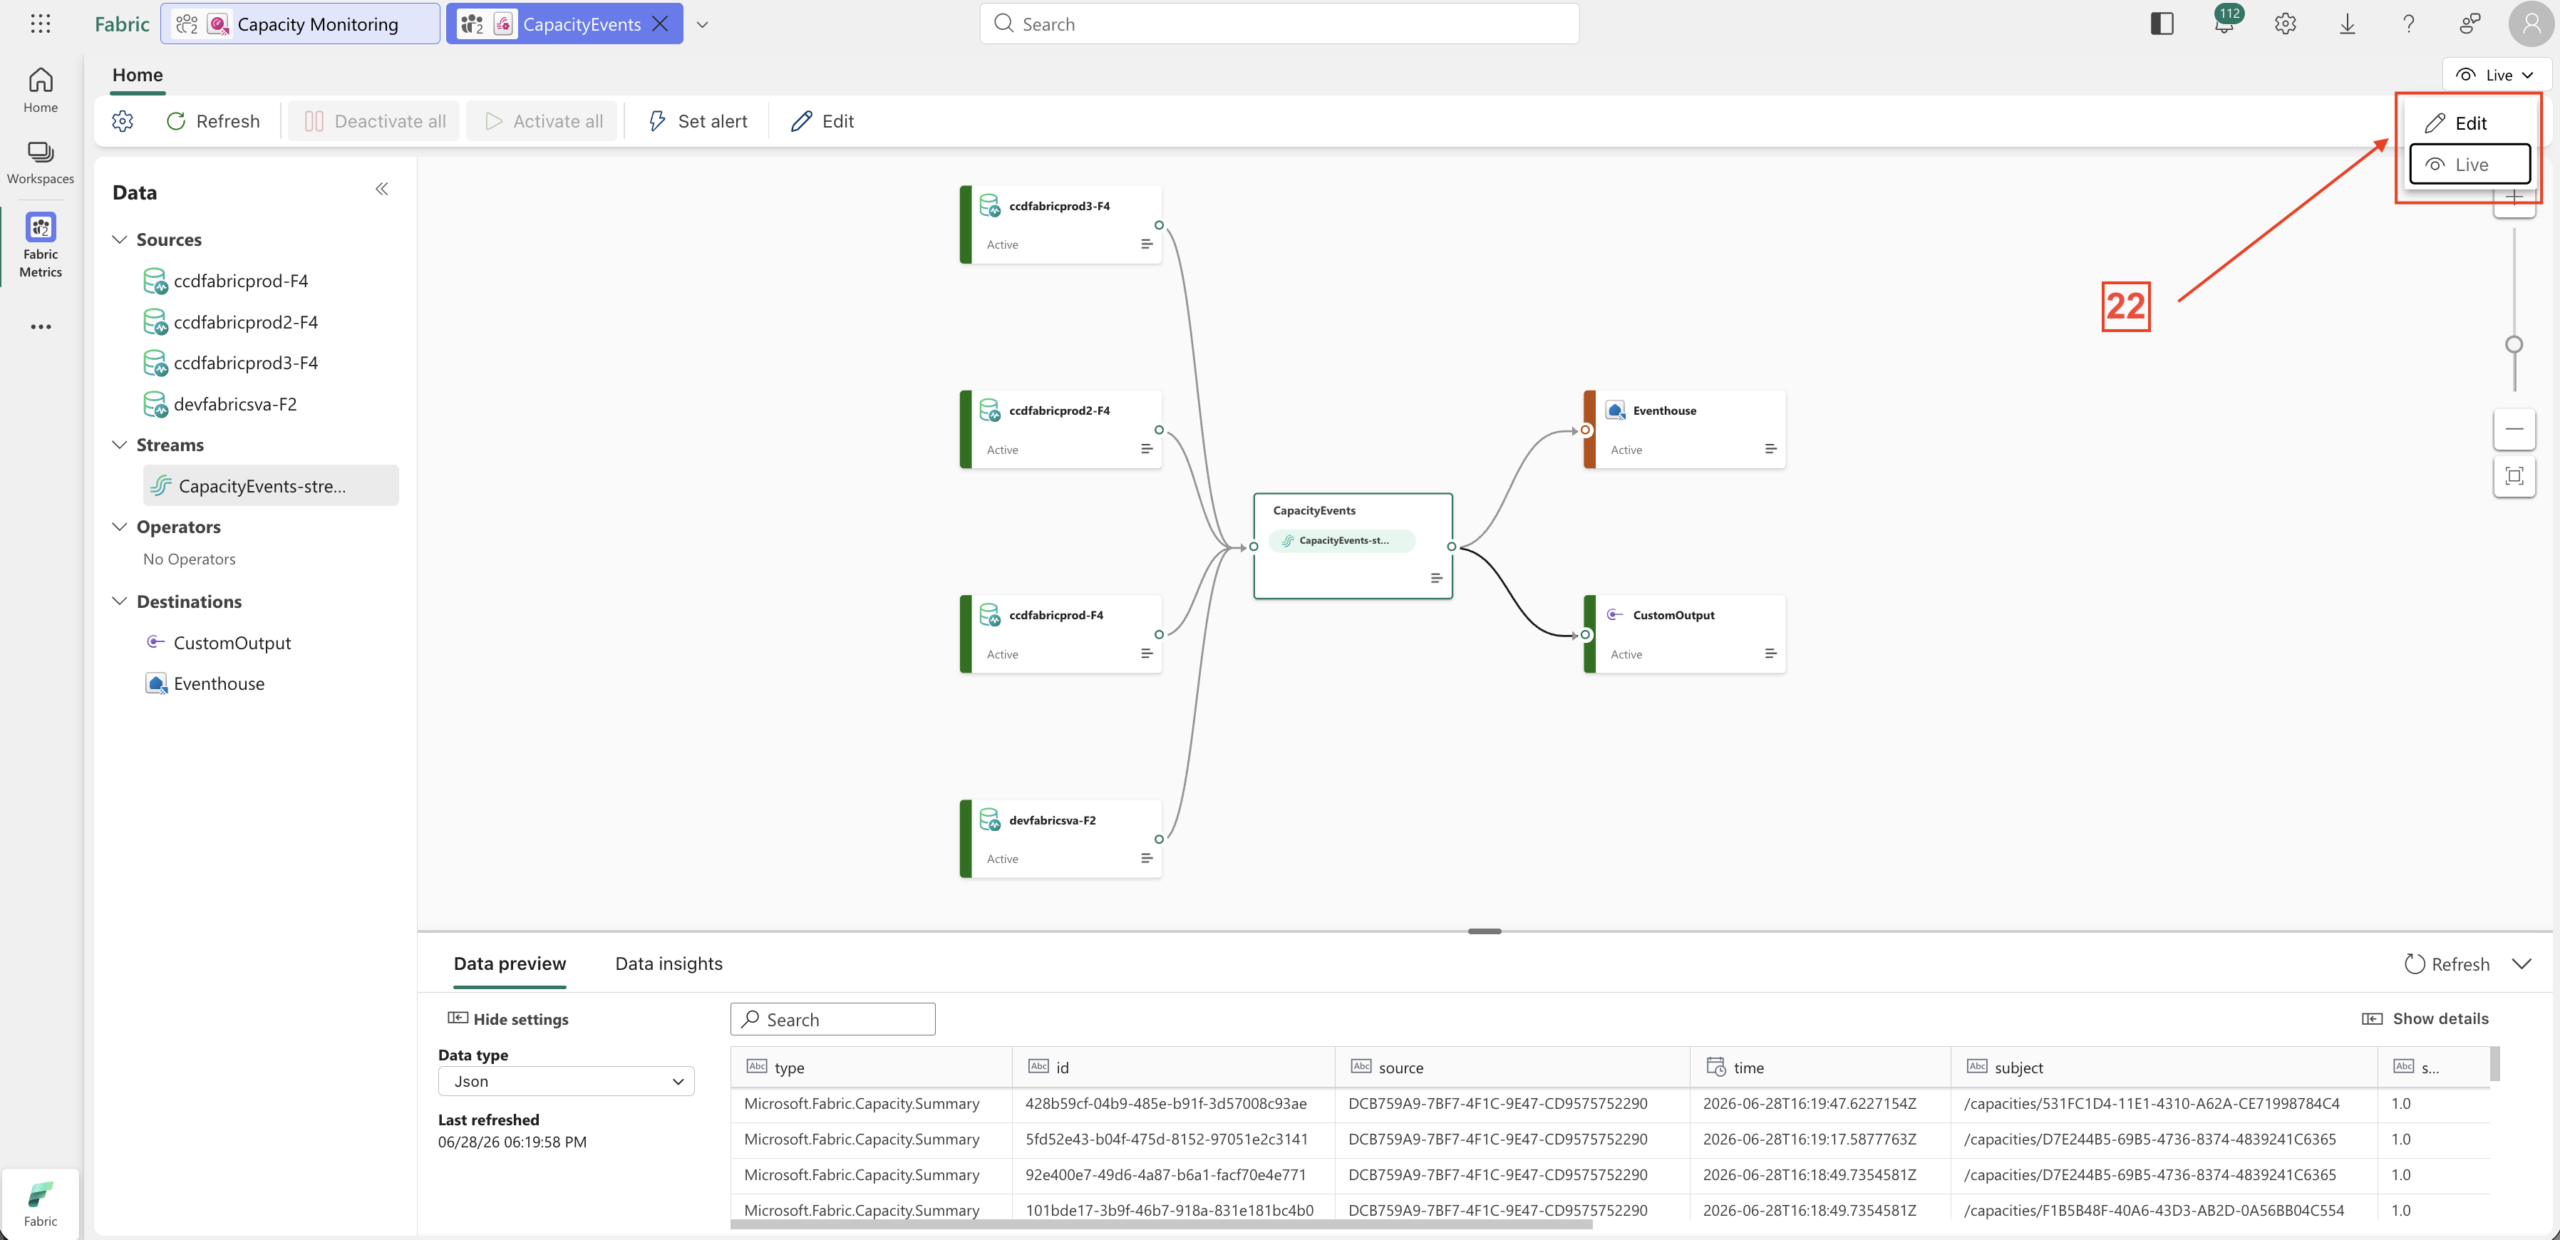
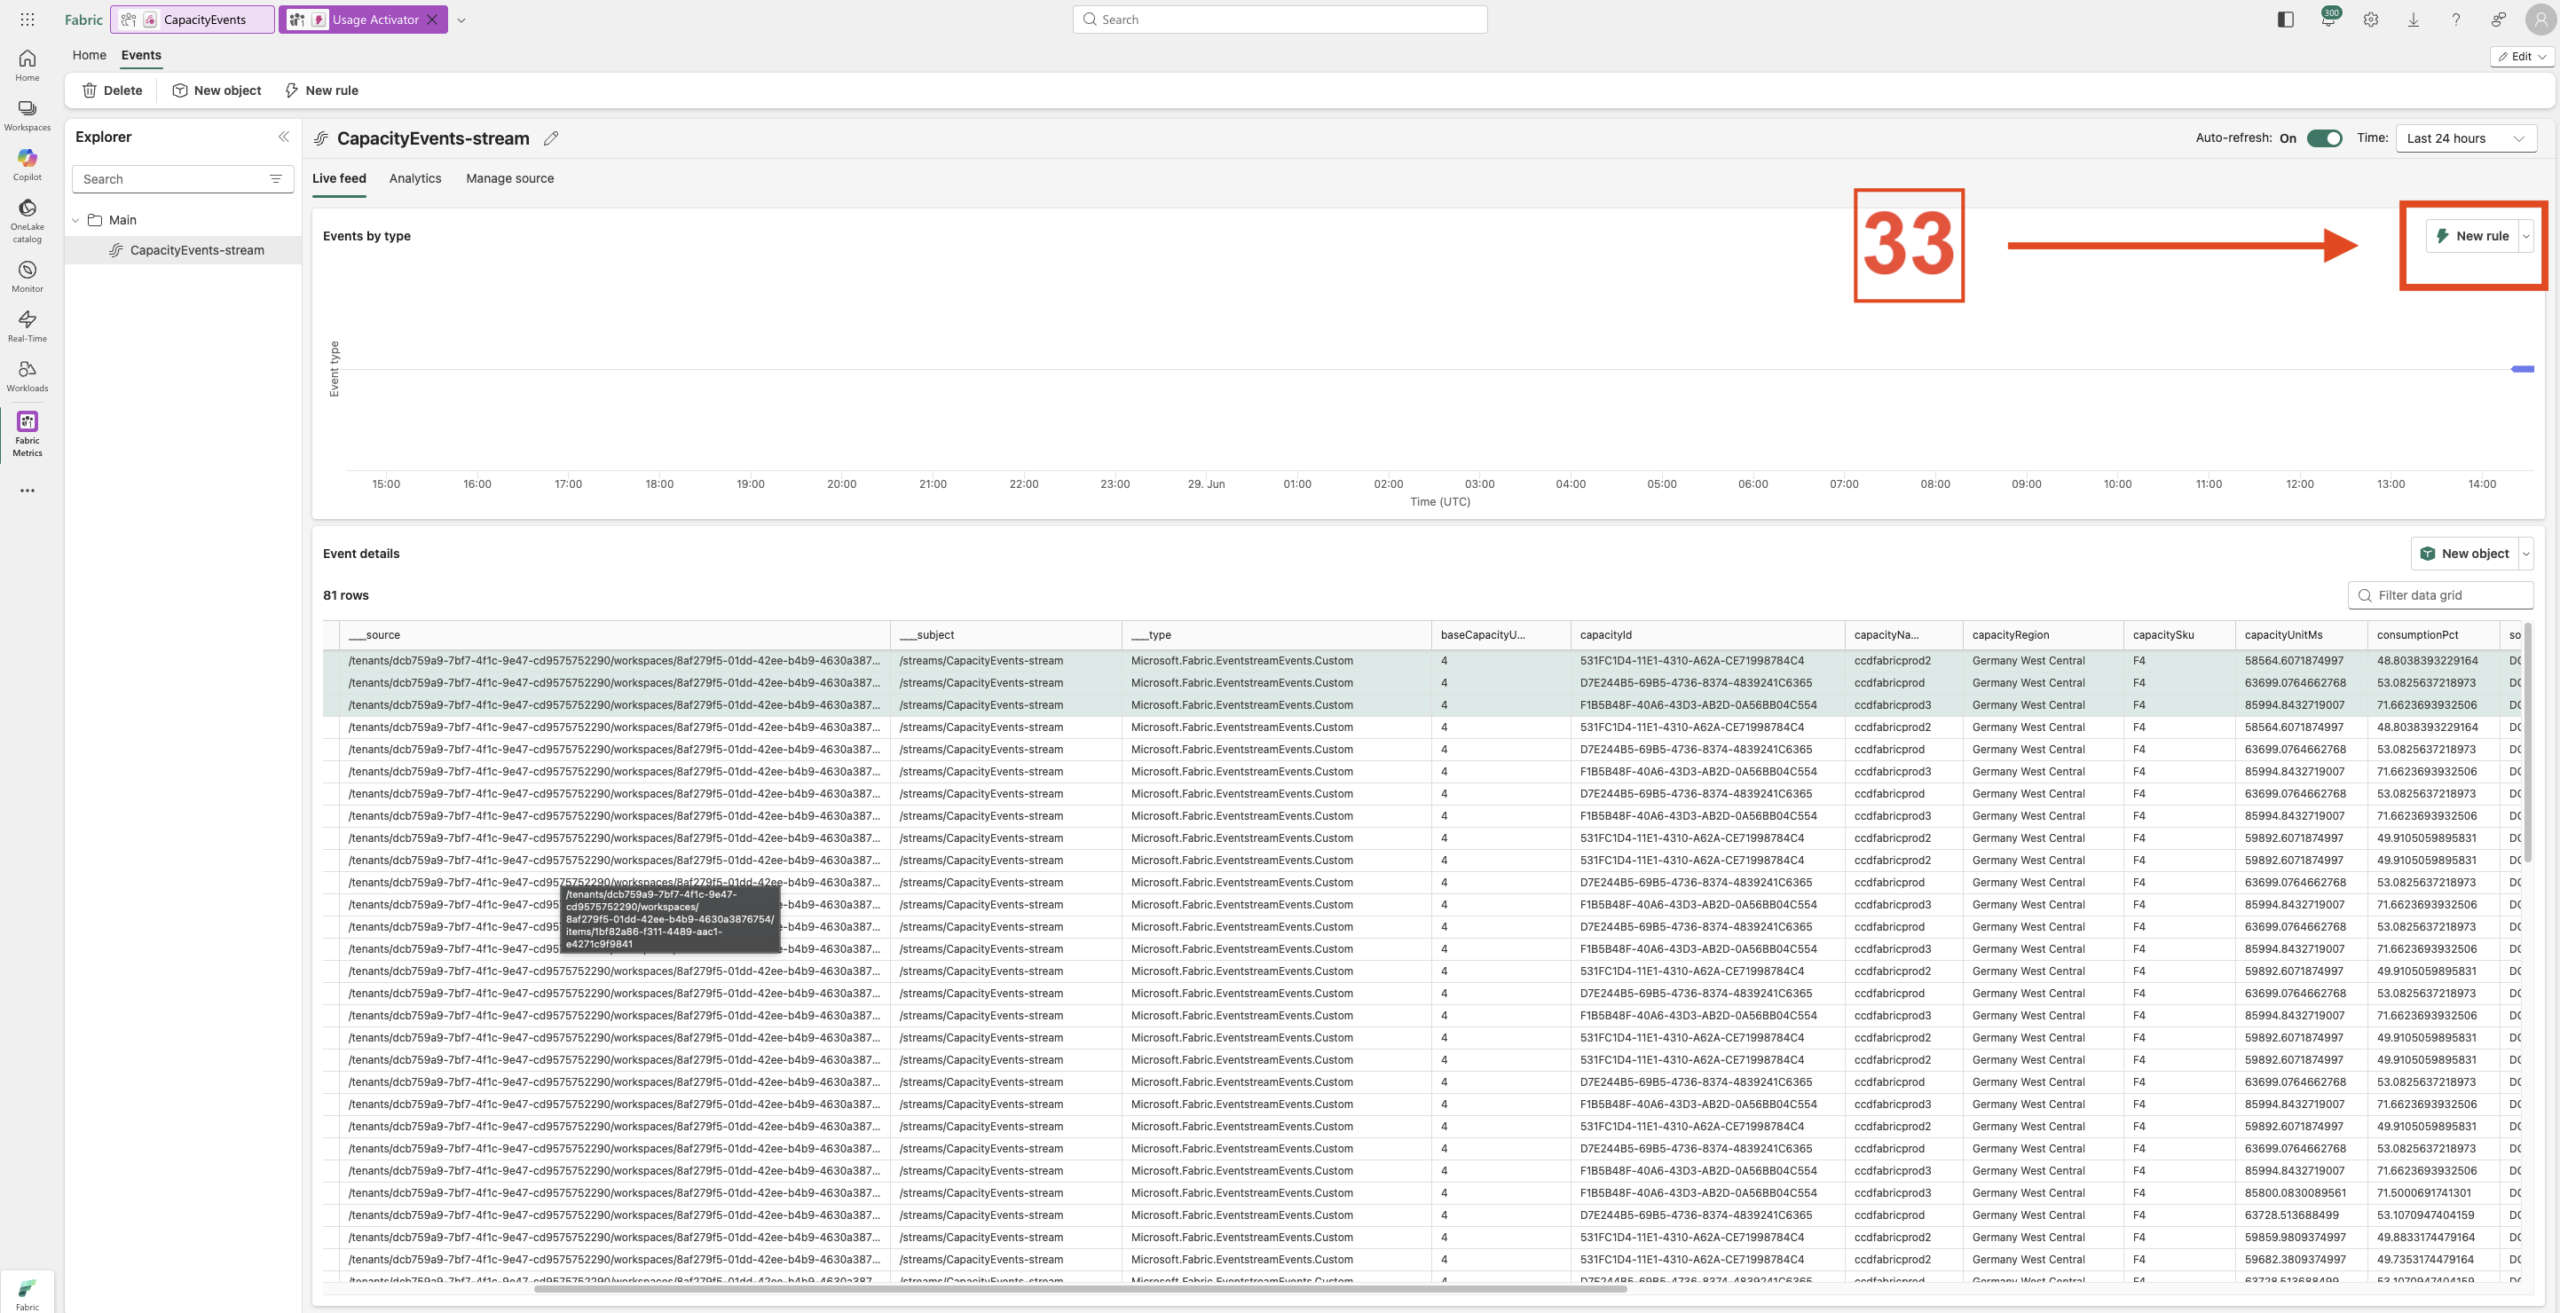
- 22. Create a new rule
-

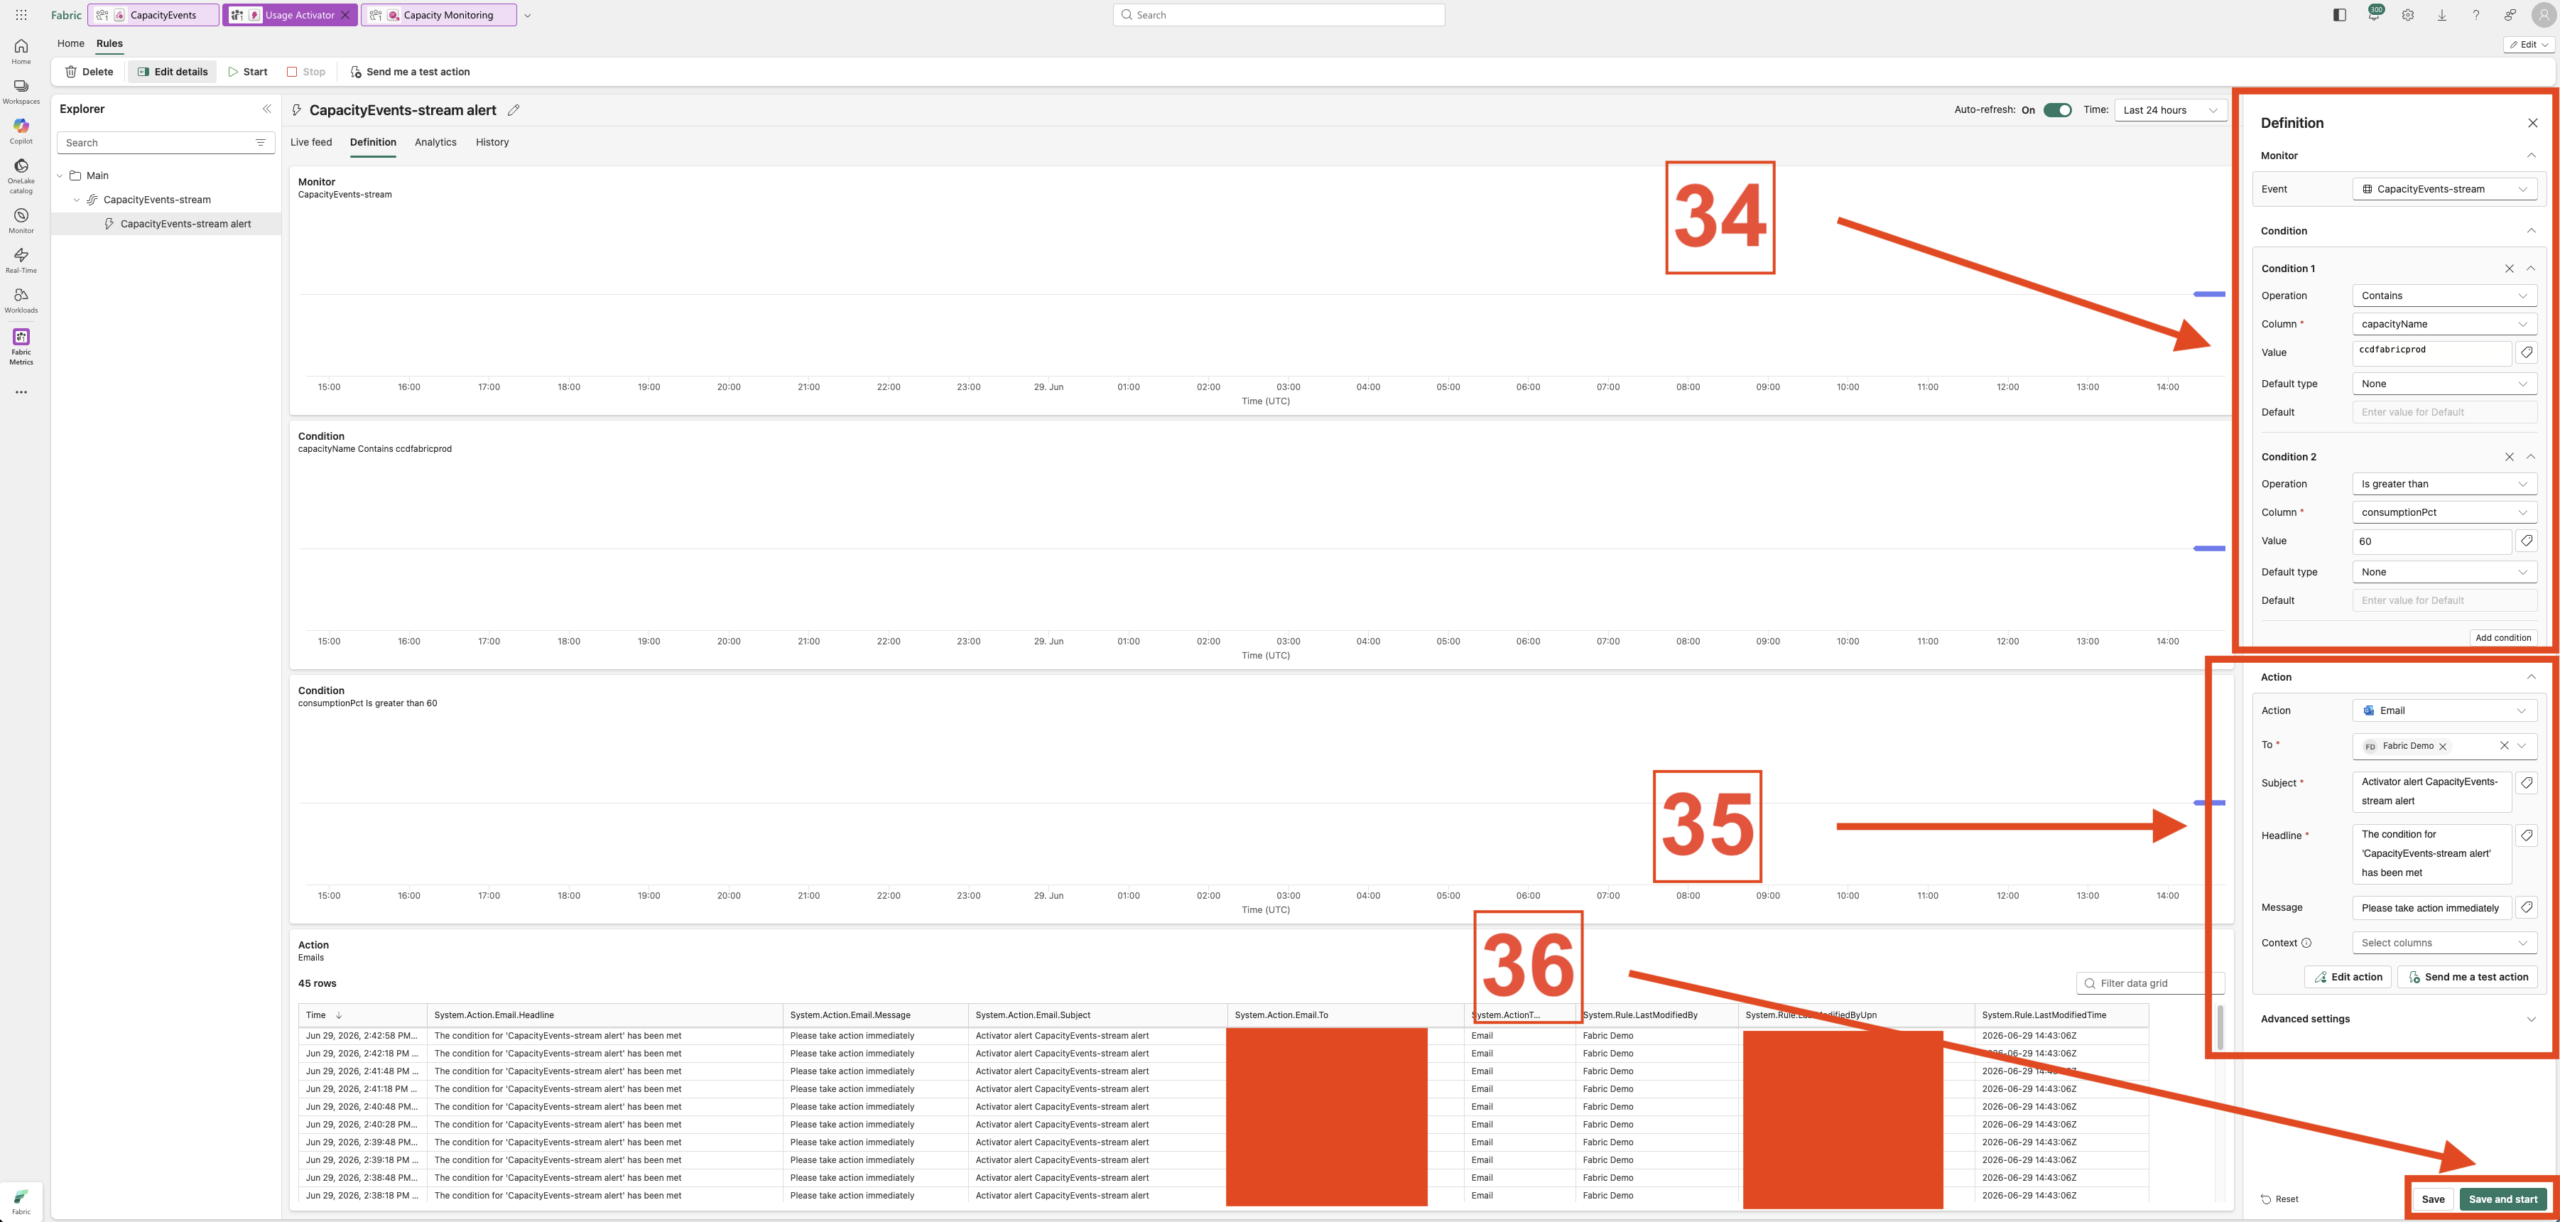
- 23. Setup the rule
-
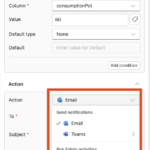
- 24. Actions